
  THIS IS THE ORIGINAL PLAN DRAWING FOR IBIS--FOR THE FINAL REVISED PLAN, SEE THE "REVISED" CONSTRUCTION PAGE  |
|
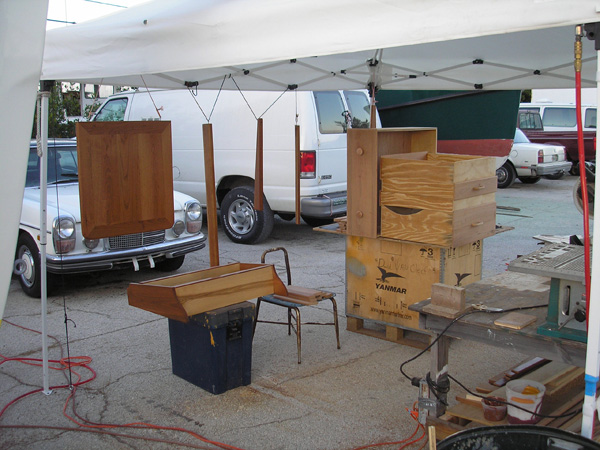
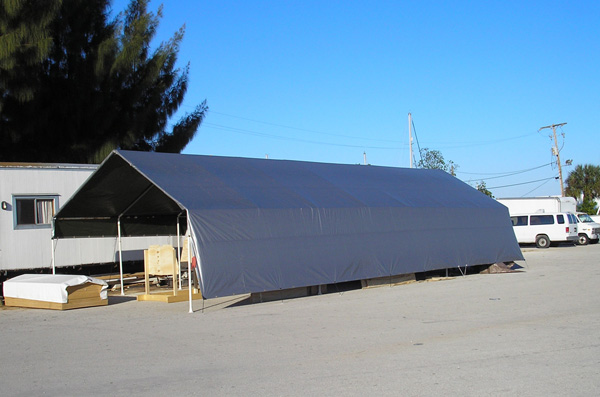 The Big Tent; Lots of plywood |
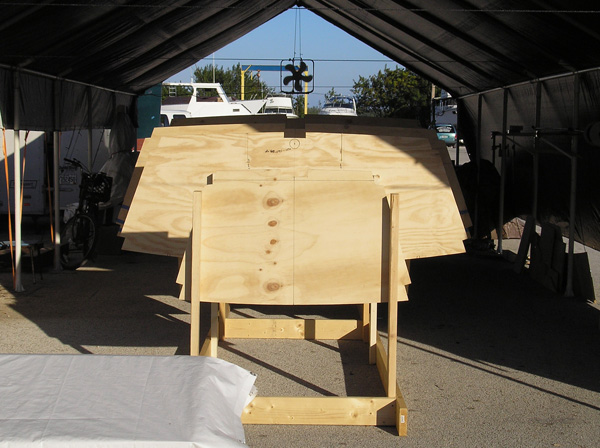 Bulkheads set up on the Strongback |
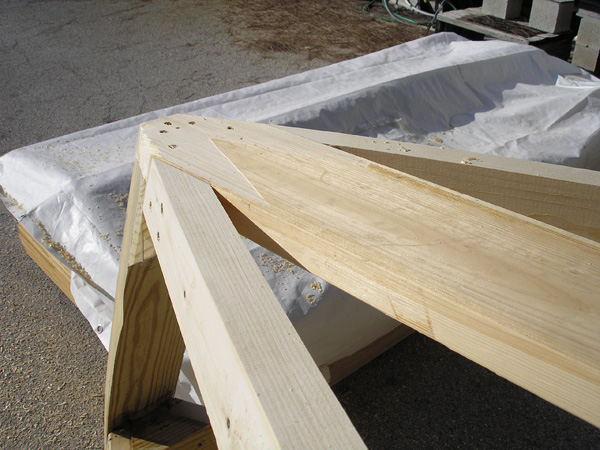
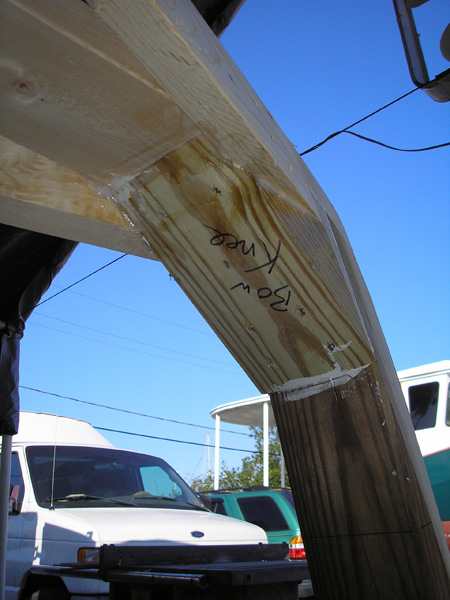 The Apron, bow knee and chine logs |
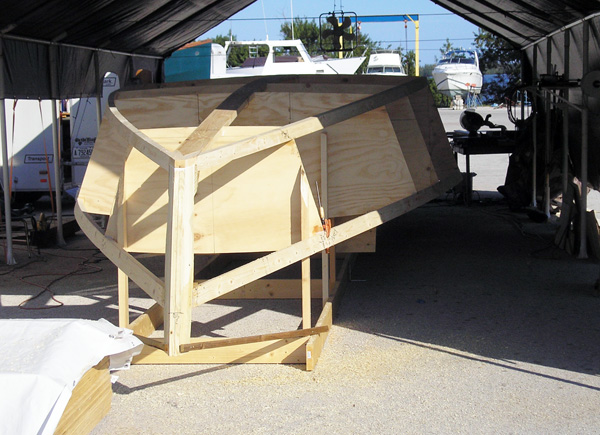
 The apron, breasthook and sheer clamps |
 Stern post, sheer clamps & chine logs |
 Stern post, breast hook and sheer clamps |
 Stern post, chine logs and keel plank |
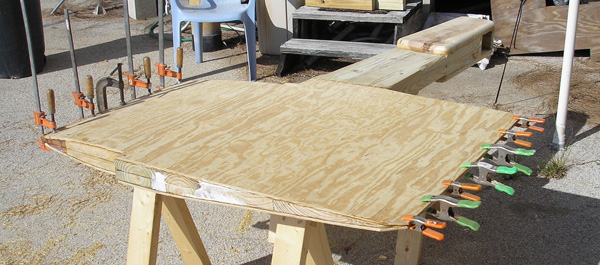
 First of two diagonal bottom plank layers going on (note correct beverage) |
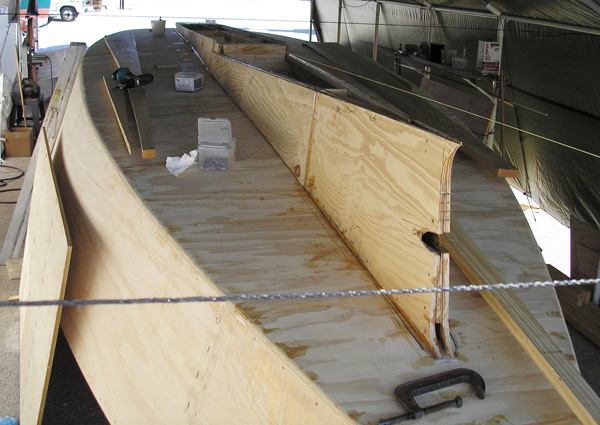
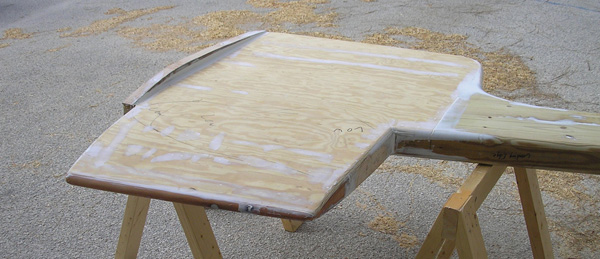
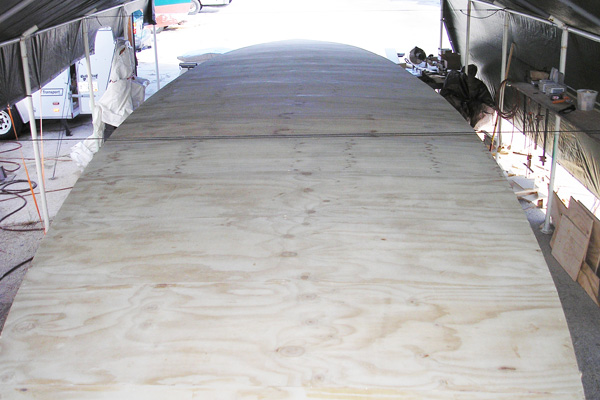 First bottom layer done; topsides planking is next |
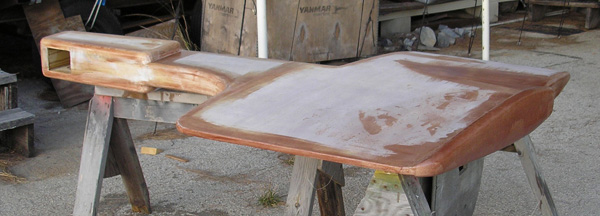
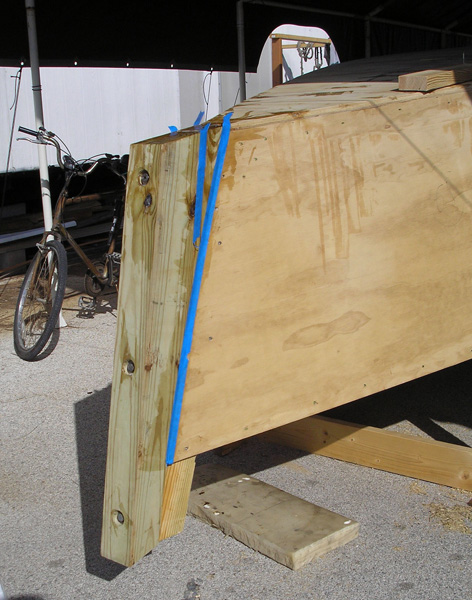 The hull is planked; Outer stern post on |
 The keel looking aft; the gripe is solid yellow pine, the keel is hollow-box |
 The keel looking forward; the aft bottom will be solid plank; plywood bottom amidship |
 The finished keel with stern tube installed |
 The stem/gripe joint in the bow; note wood fillets |
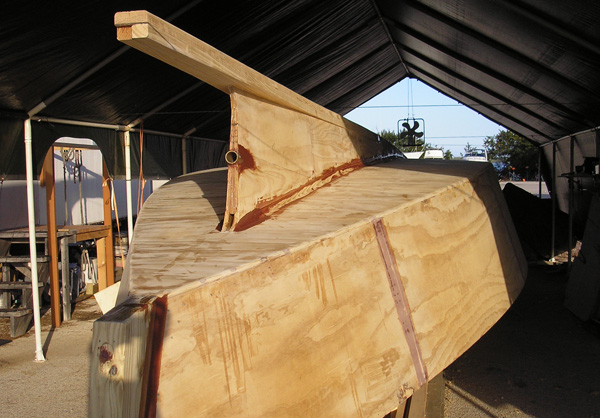
 The stem; the hull is ready for Xynole Epoxy |
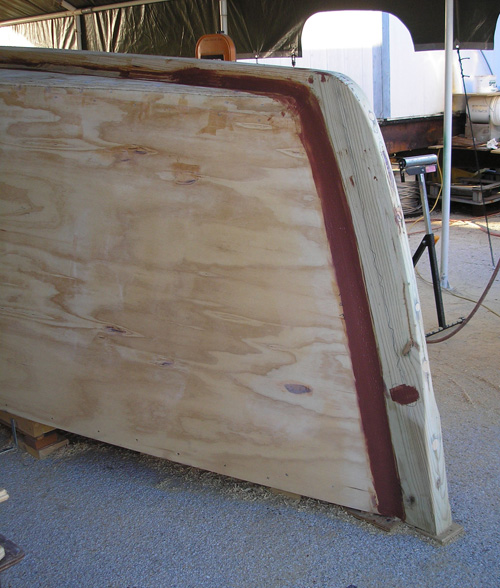
 The Xynole/epoxy covered hull in
primer, ready to be turned over The Xynole/epoxy covered hull in
primer, ready to be turned over |
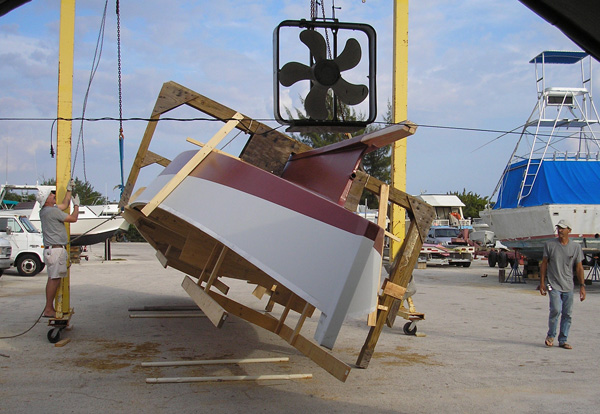 Righting the hull using square wheels and a gantry |
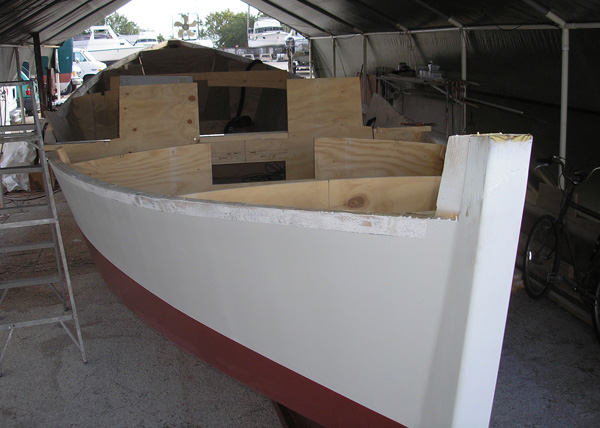 The hull right side up, back in the tent |
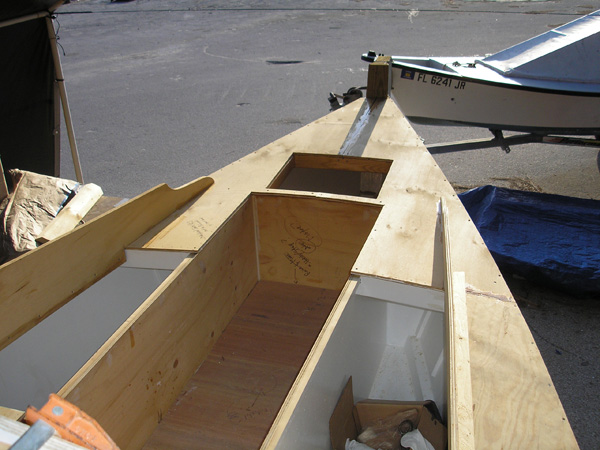
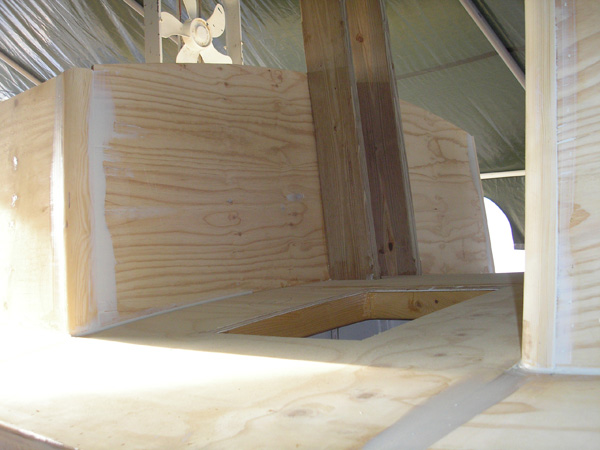
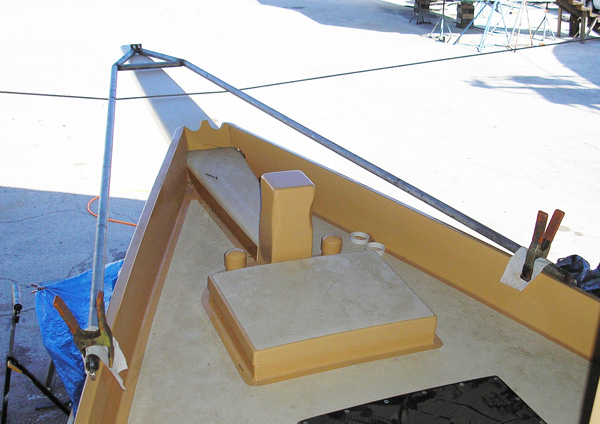
 The cockpit roughed in; lazarette hatch frame aft |
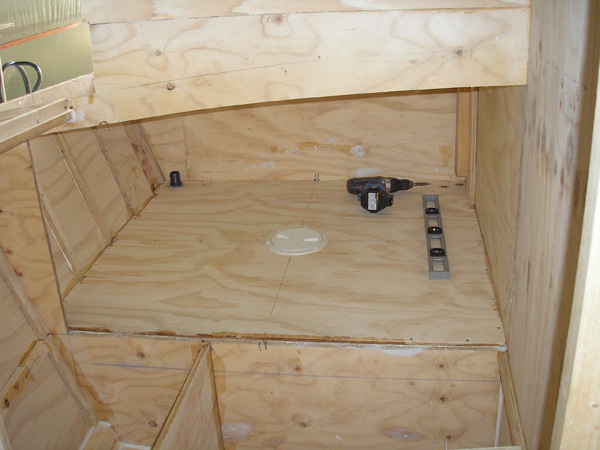
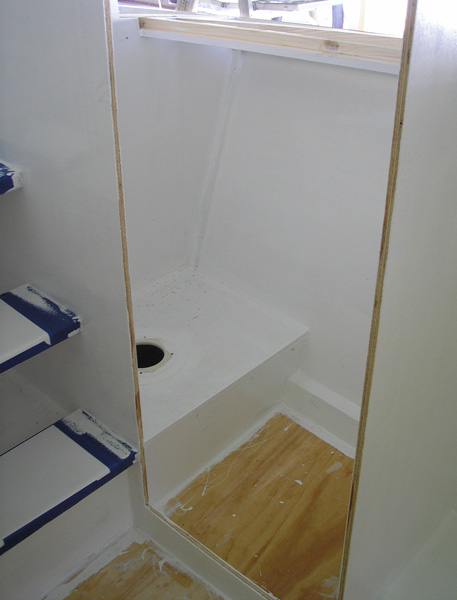
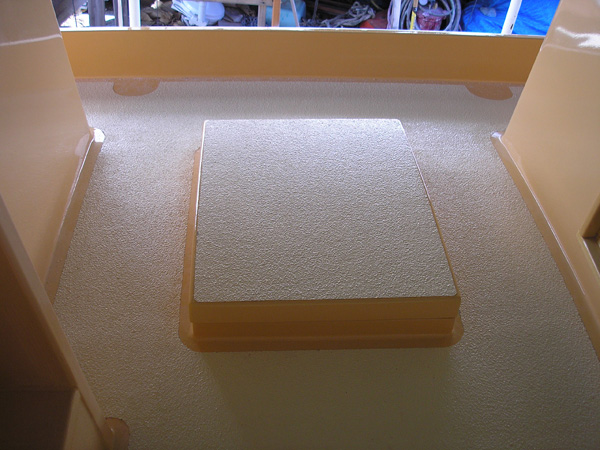
 The holding tank/head platform |
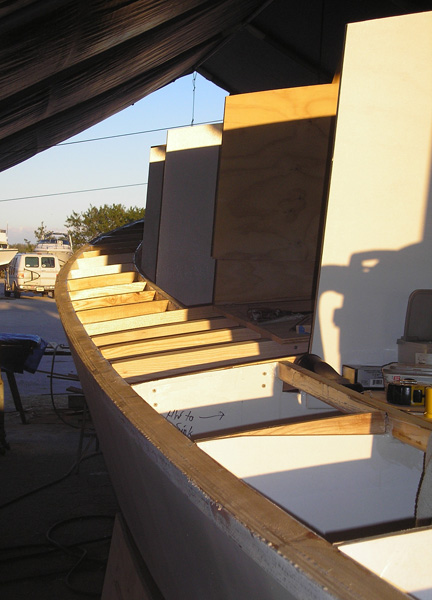
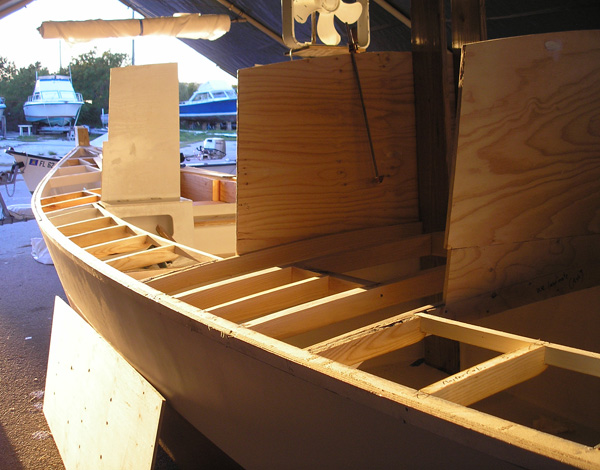
 The port side 150 gallon integral water tank (also the master cabin bunk) |
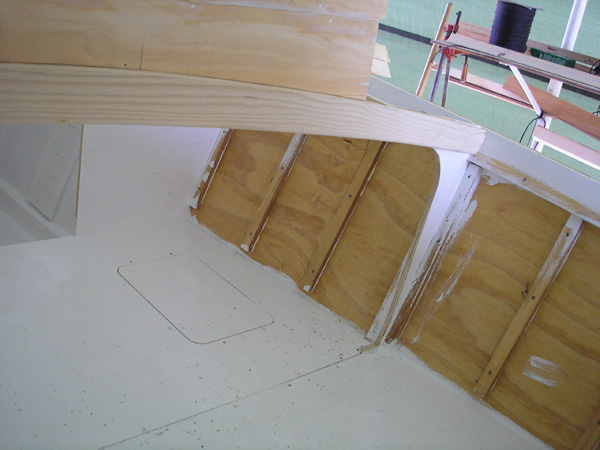 The master cabin berth; furring strips are for ceiling planking |
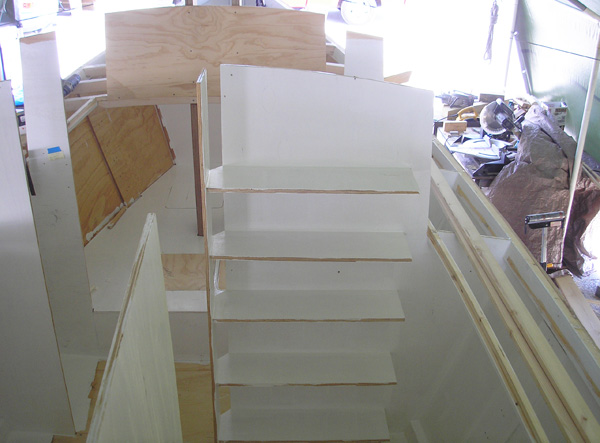 Shelves in the master cabin, roughed in |
 Companionway steps into the aft cabin |
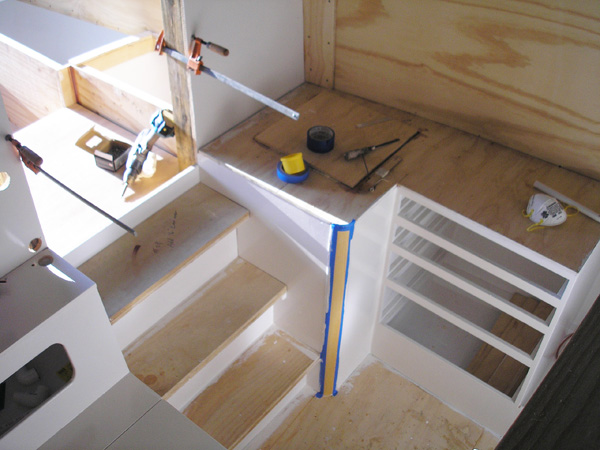 Aft cabin; galley drawers |
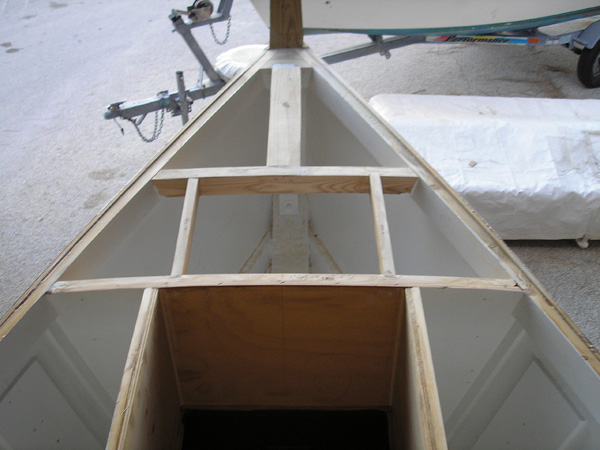
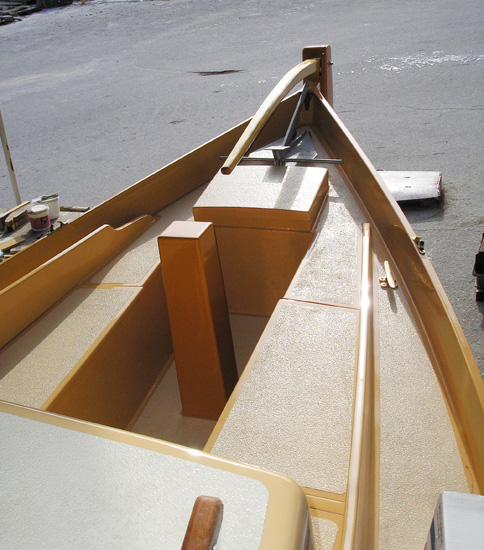
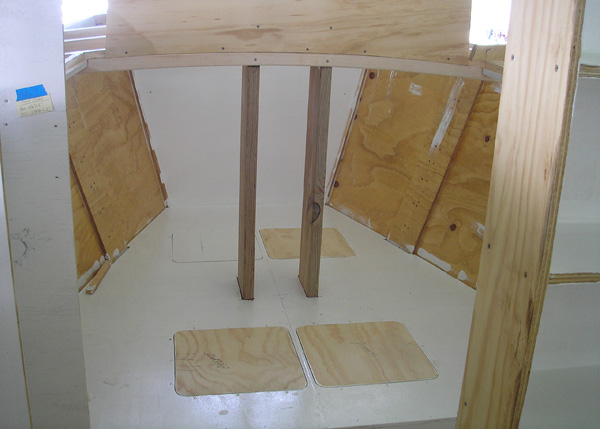 The foc's'le V-berth with foremast tabernacles |
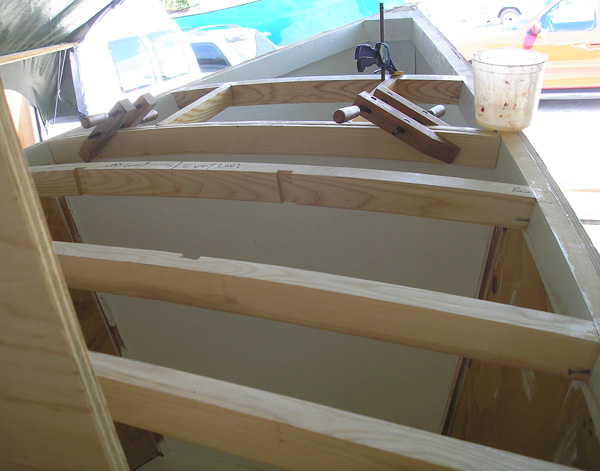 Fore deck beams; forepeake locker forward |
 Looking into the head from the forward cabin; companionway to left |
 The side deck beams in place |
 Side deck beams |
 The cockpit; deck and coamings |
 Deck underside; I pre-varnish beams and pre-paint the deck underside |
 Decks are on, ready for Xynole/epoxy |
 Mainmast tabernacle and stbd side hatch frame above master berth |
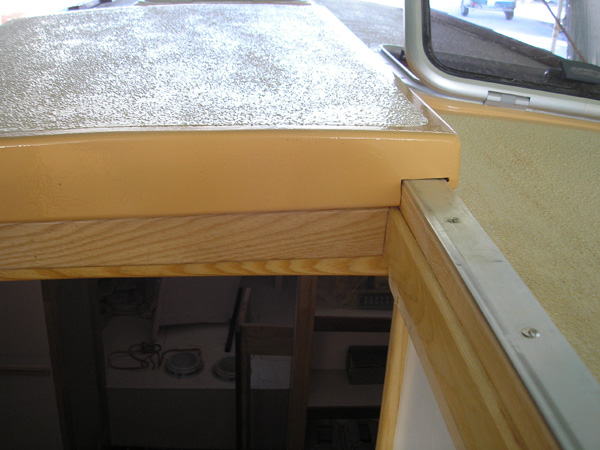
 Solid wood cabin corner |
 The mooring bitt and forepeak hatch opening |
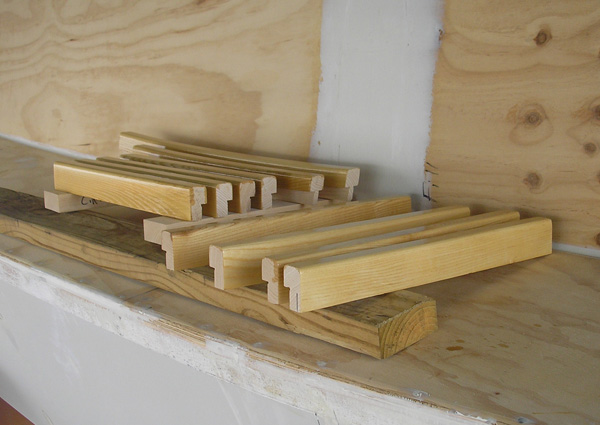
 Companionway hatch coamings and coachroof beams |
 Rabetted coachroof beams for
foam core construction; sealed and varnished
|
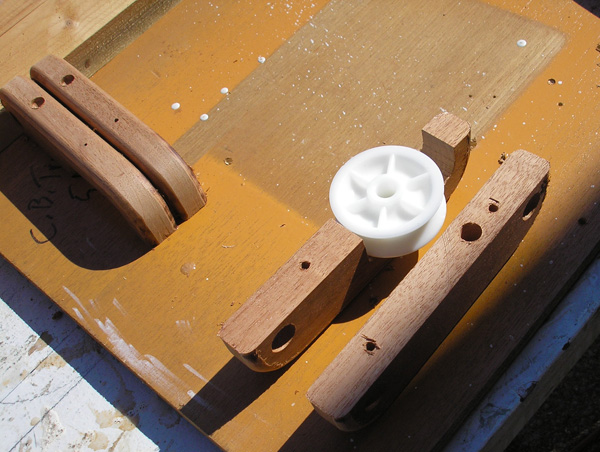
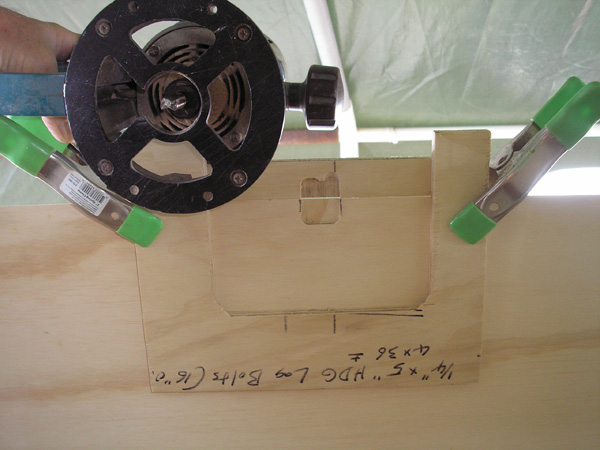 Router & template for beam mortises in cabin sides |
 Hatch carlins |
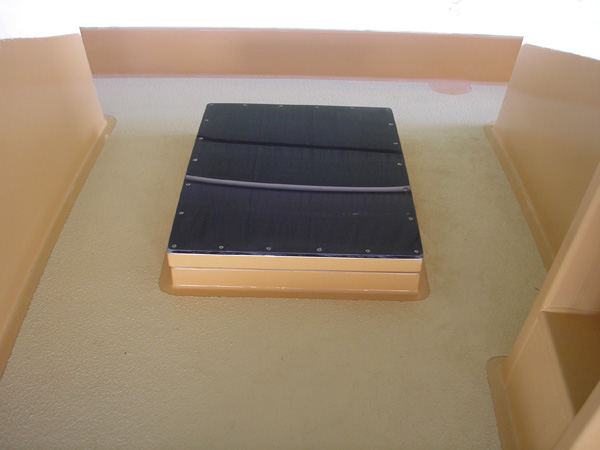
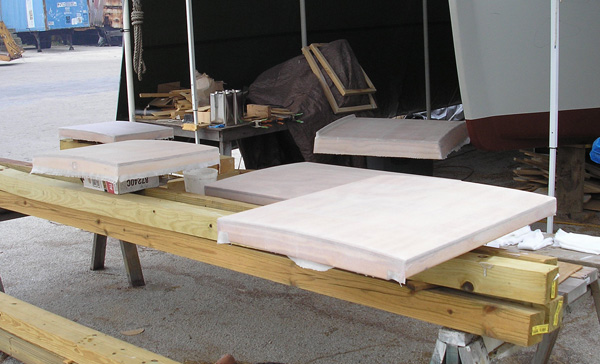 Hatch covers Xynole/epoxy covered |
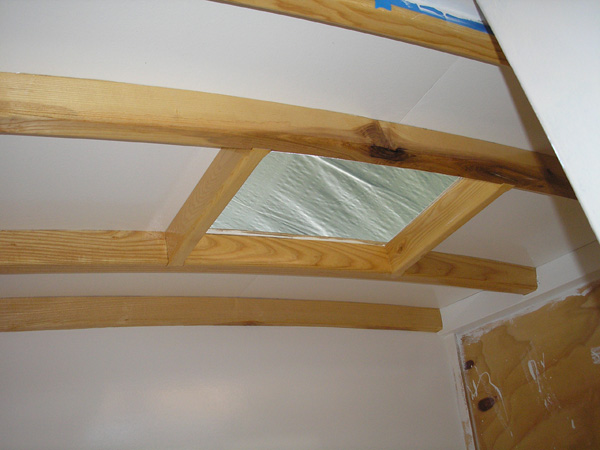
 The aft cabin coach roof with hatch turtle and Lewmar skylights |
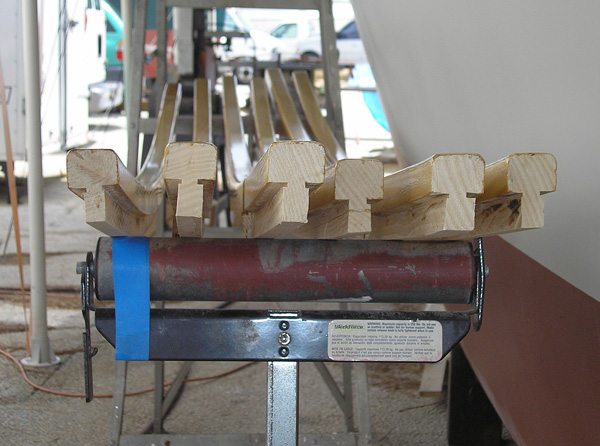
 The first bulwark layer being lag bolted |
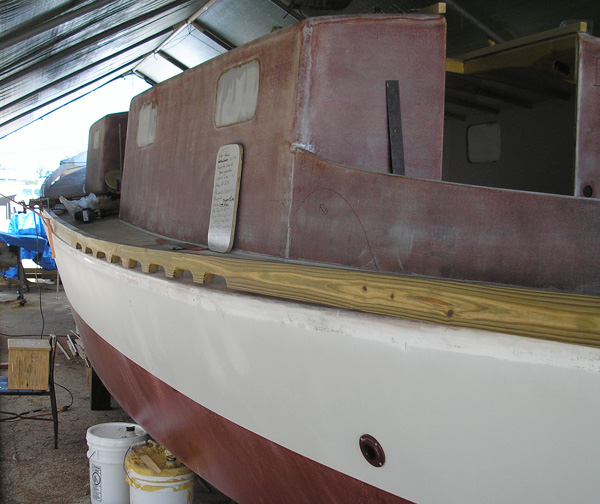 First layer finished |
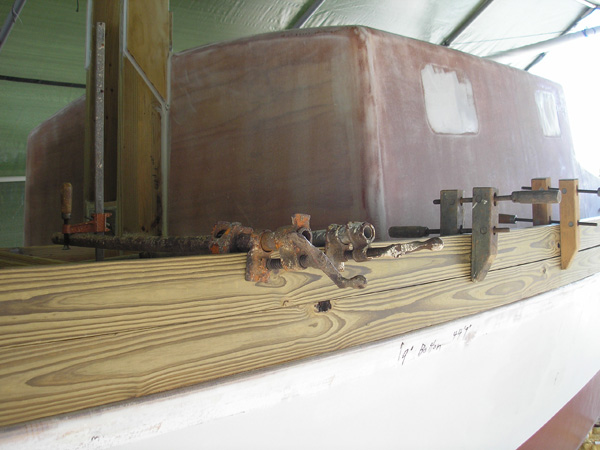 Adding the second bulwark layer |
 Prying the layers apart to apply epoxy glue |
 Bulwarks bunged, ready for
shaping & Xynole/epoxy
|
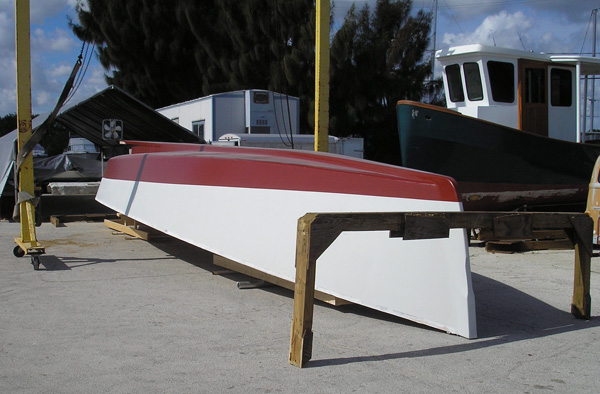
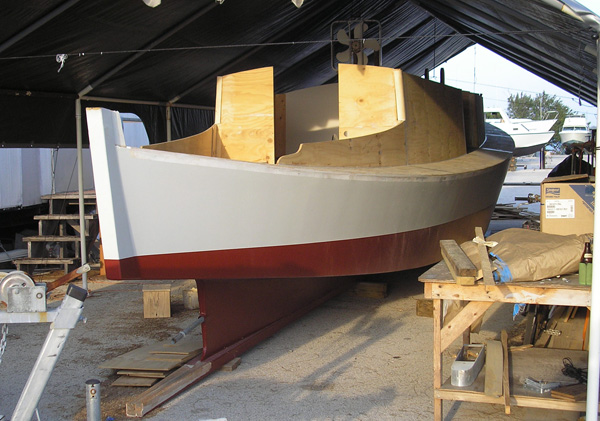
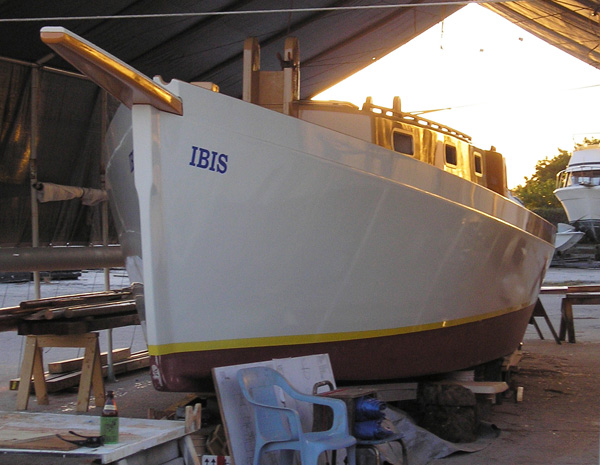
 The finished boat in primer |
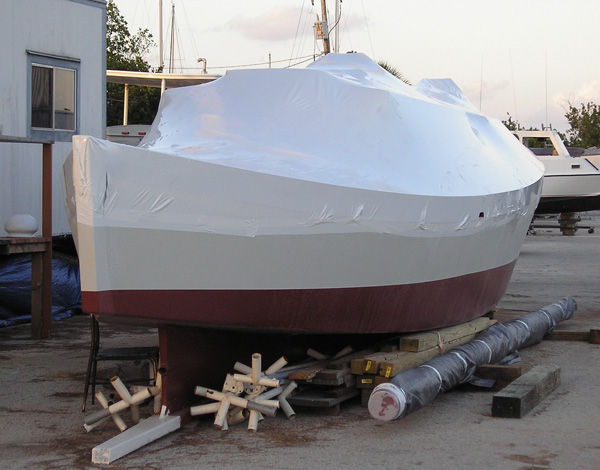 IBIS shrink-wrapped for the summer of 2008 * * * * * |
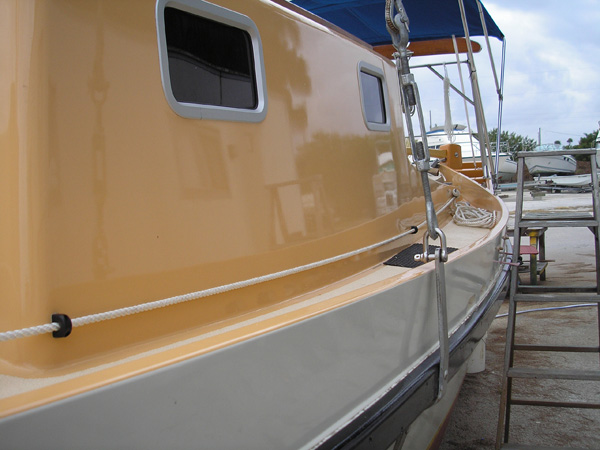
 Upon my return in Fall of 2008, I painted my topsides first |
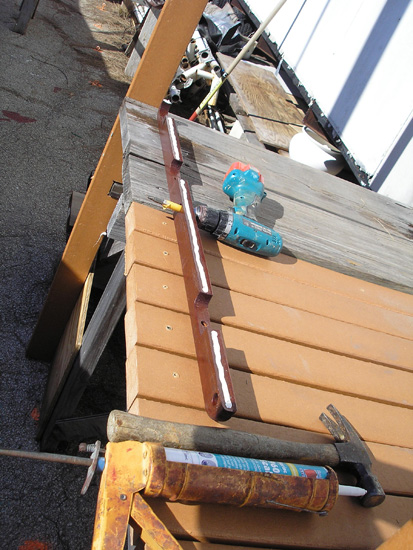
 Making cabin top hand rails from teak plank stock (heavy duty) |
 Finished hand rails ready to be installed |
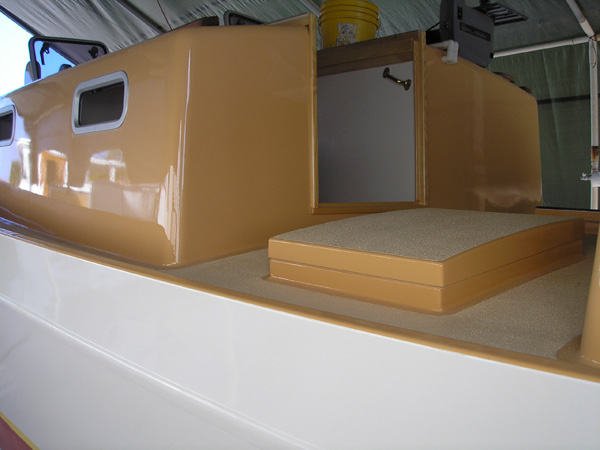 The cabins and decks painted with Dupont Industrial Imron (custom color) |
 The cockpit, lazarette hatch and pedestal |
 A Lewmar size 50 Ocean-Series skylight installed (typical) |
 Cargo hold deck hatch |
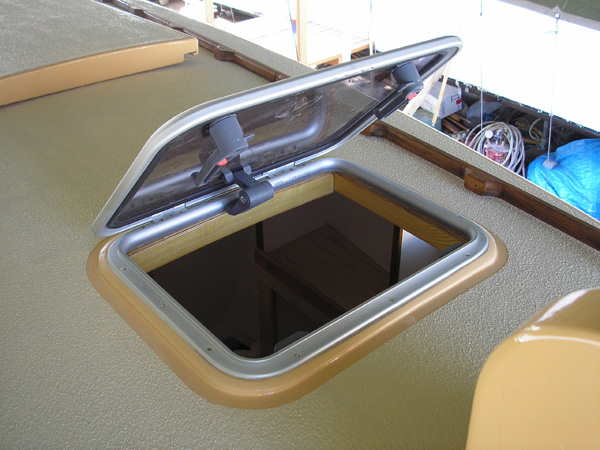
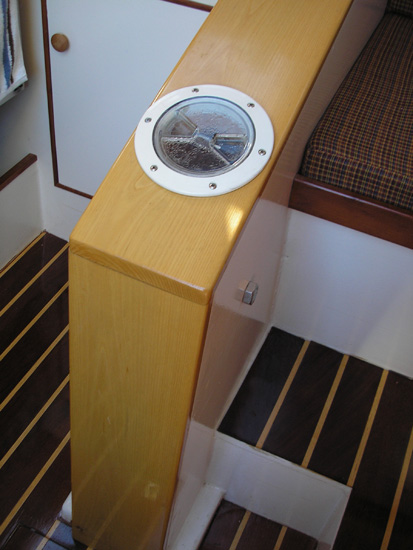
 The deck skylight over the master cabin double berth |
 The sliding hatch for the forward cabin companionway |
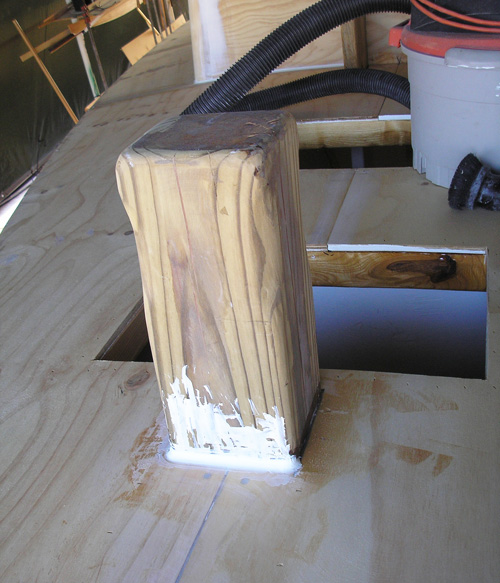
 The mainmast tabernacle and water tank vent |
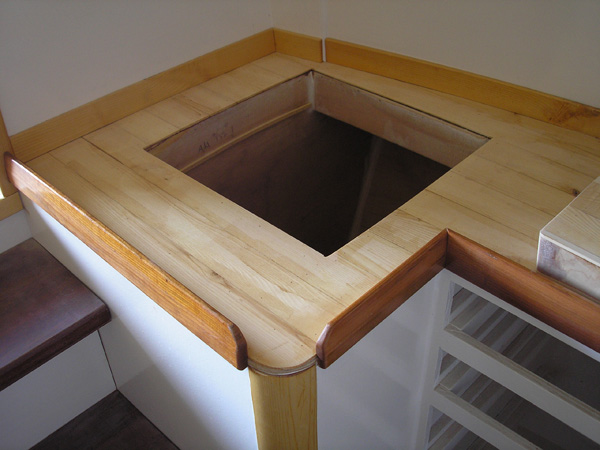 The galley refrigeration compartment and countertop |
 Drawers, shelf and saloon table, made from wild black cherry (from my own trees in Maine) |
 Galley drawers
|
 The rudder from solid core stock ready for plywood sheathing |
 The rudder core |
 The rudder with plywood sheathing |
 Rudder cheeks |
 The rudder with template for Naca 009 foil shape |
 The rudder with end plate ready for Xynole/epoxy |
 The finished rudder in primer |
 Using a chop saw with blocking to cut scarfs in mast timber |
 Mast panels ready for assembly (bird's mouth method) |
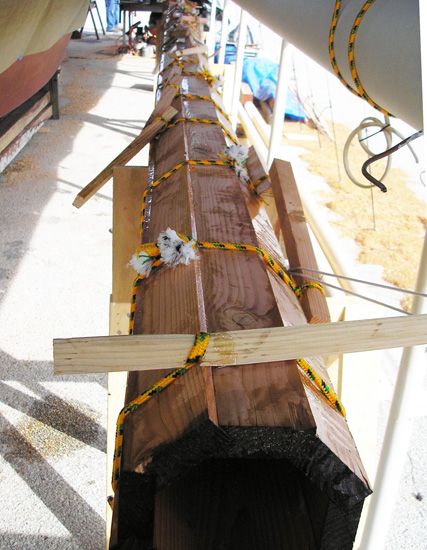 Mast glued up using rope strop clamps |
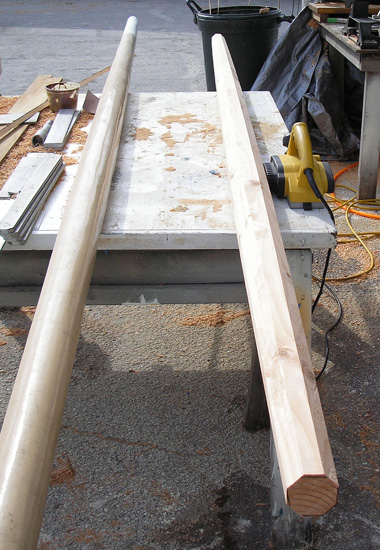
 The mast power planed to an octagonal shape |
 Power planed to 16 sides |
 Power planed to 32 sides |
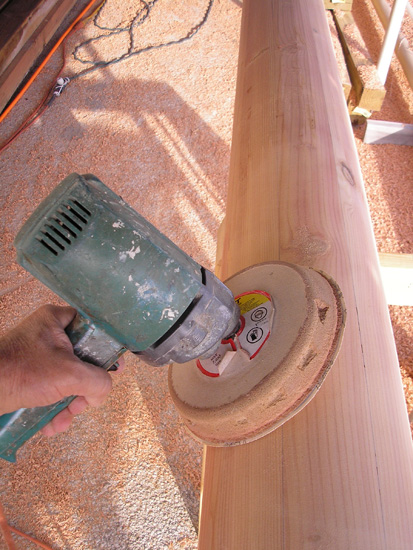 Using a low-speed body grinder with 8" soft pad for final shaping |
 Reducing the mast head for the SS collar |
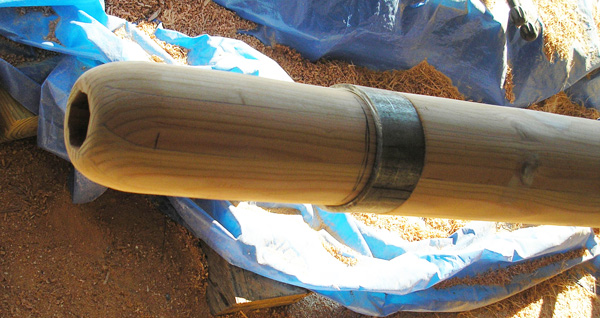 Dry fitting the collar--rounding the head |
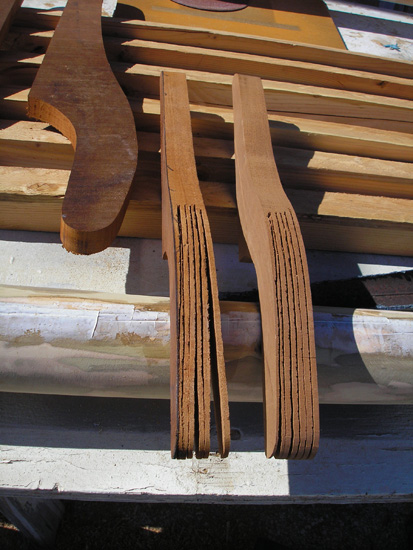
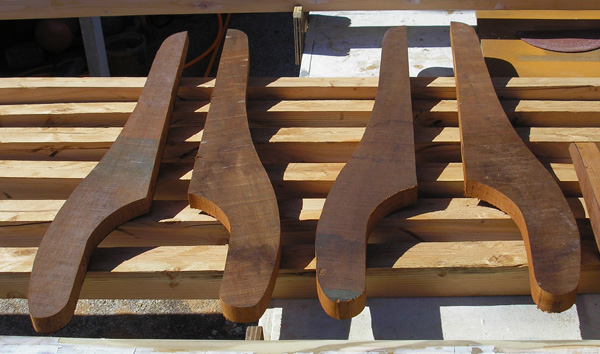
 Cutting out booms from solid Douglas fir stock |
 Using a long twist drill to transfer shape to the opposite side |
 Finished boom (left); Sawn boom (right) |
 Gaff jaws cut for laminating shape (mahogany) |
 Laminating gaff jaw curvature |
 Boom jaws sawn from mahogany stock |
 Making bee rail components (mahogany) |
 Bee rails--one side containes Delrin sheaves |
 Aligning boom jaws for drilling holes for SS allthread |
 Stainless steel chainplates, mast collars, rudder gudgeon |
 Rudder hardware--virtually indestructible! |
 Rudder hardware being dry-fitted |
 Rudder pintle |
 Rudder gudgeon being dry-fitted |
 Rudder hardware attached (through-bolted) |
 The rudder hung; Ash tiller in place; Rubrails on |
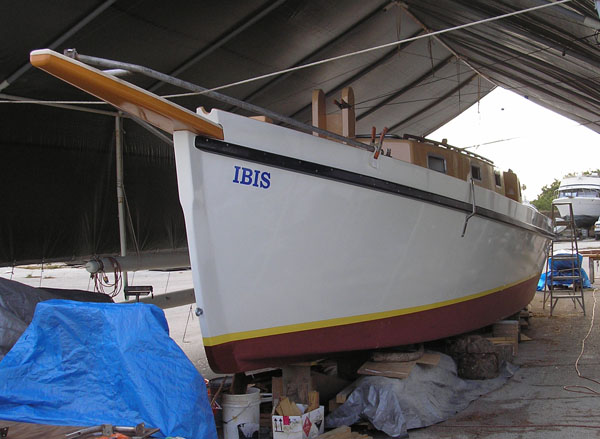
 IBIS! Bowsprit on |
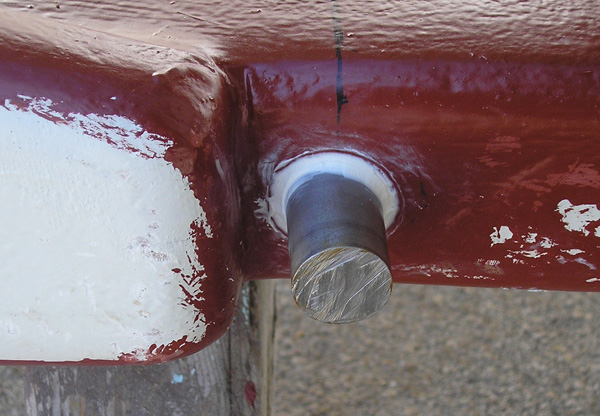
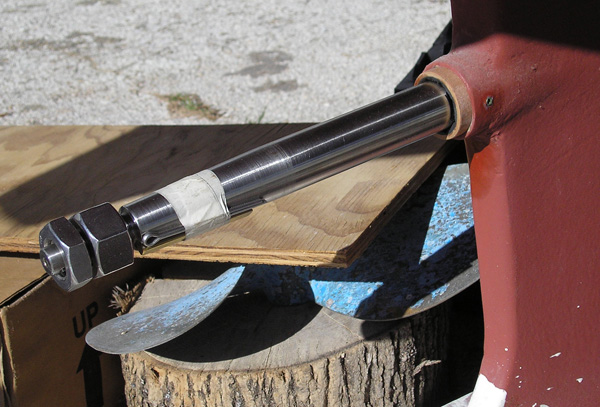 Propeller shaft, Phenolic cutlass bearing, set screws, ready for prop |
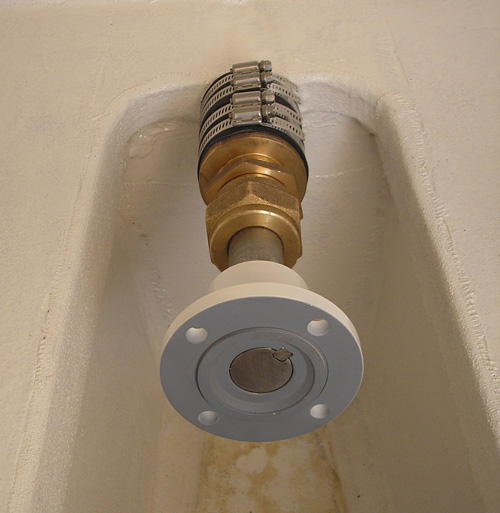 The stuffing box and shaft flange plate |
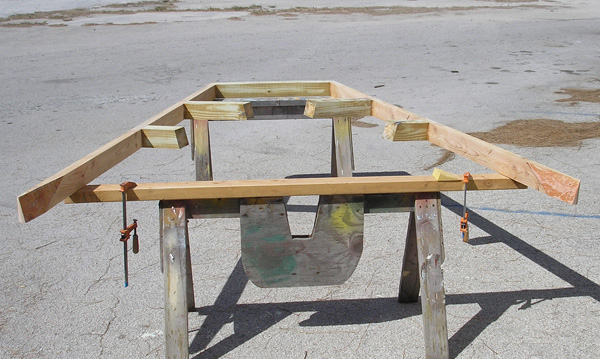
 The A-frame for tabernacling the masts being dry-fitted |
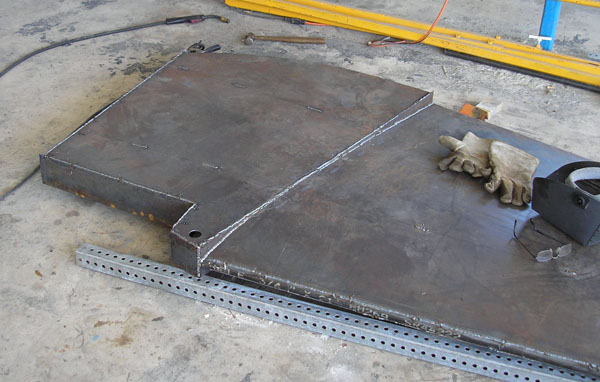
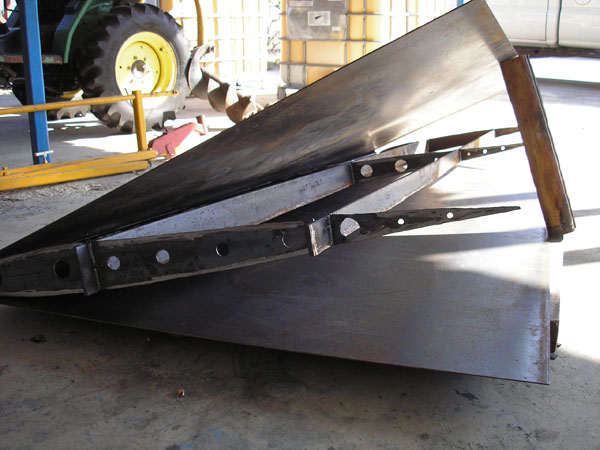 Starting the steel centerboard--frame and sides |
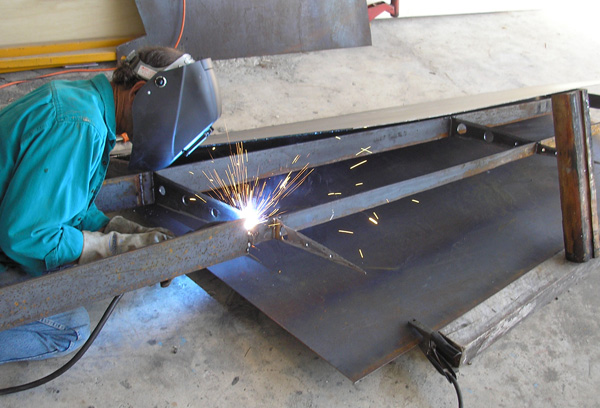 Bill Smith welding the upper strut extensions |
 Installing lead ballast in the centerboard |
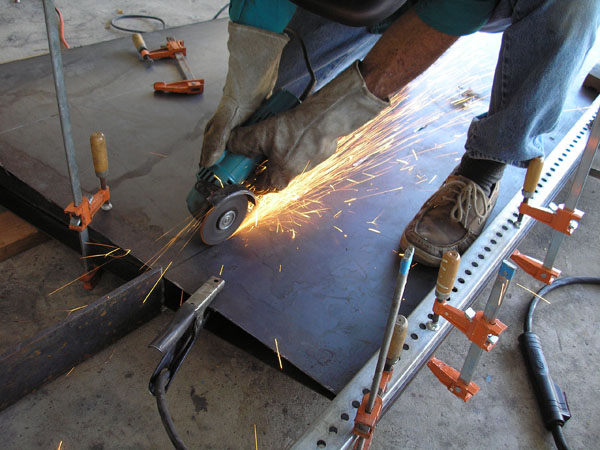 Cutting for strut welds |
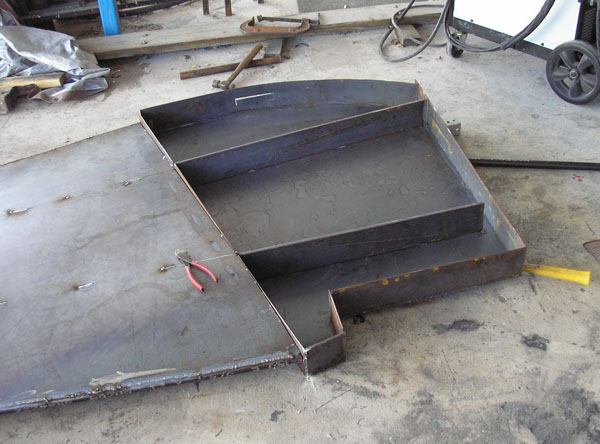
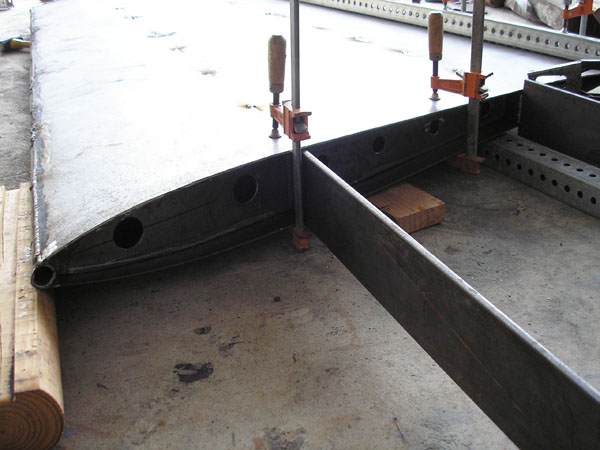 The ballasted lower part finished--the upper struts ready for plating |
 The centerboard bottom is shaped from black pipe |
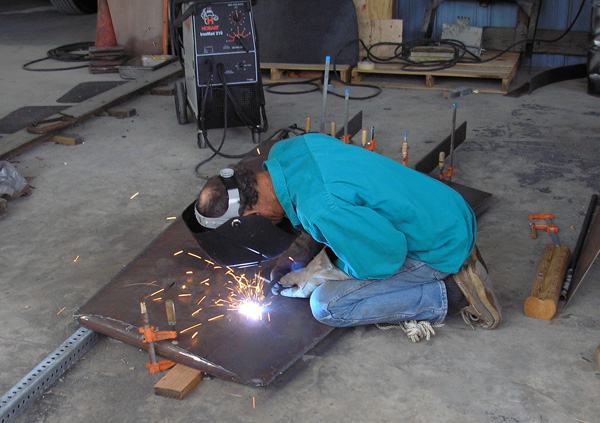 Slot welding the internal struts |
 The welded board ready for grinding; The hole is for the pivot pin bushing; Square part stays inside the trunk; foil part becomes a fin keel when deployed |
 The hollow upper part prior to finishing |
 The finished centerboard ready for grinding and Xynole/epoxy covering |
 The cockpit finished |
 The midships bridge deck, cargo hatch and hardware |
 The Isuzu 3LD2 ready for paint |
 Gaff jaws, boom jaws and bee rails varnished |
 The patent stern (AKA boomkin) roughed out |
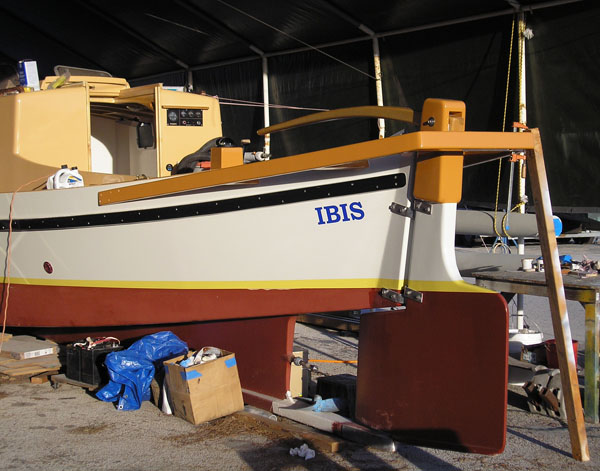
 IBIS with bowsprit, A-frame, rubrails, chainplates, etc |
 Stern with rudder and rubrails on, ready for the pattent stern |
 The Isuzu refurbished and ready for installation |
 A strum box made from PVC |
 The bilge pump |
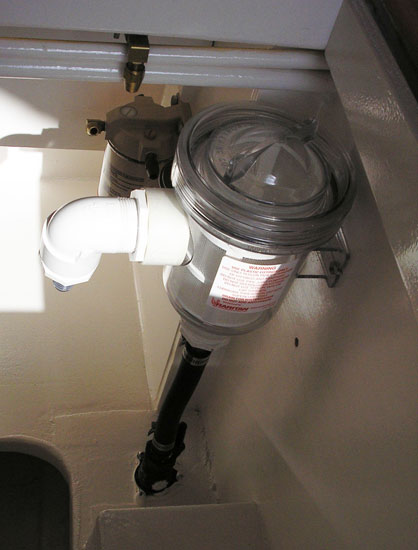 The water strainer |
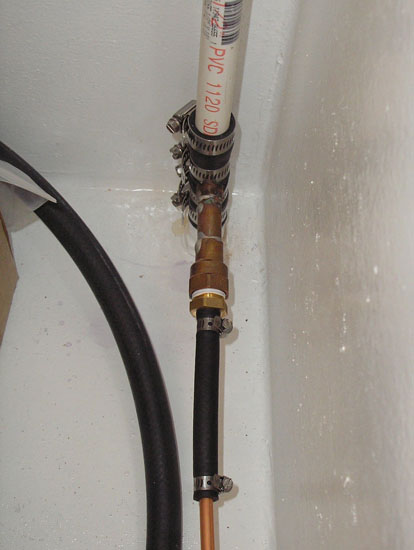
 Fuel pickup installed thru a delrin thru-hull fitting in an integral tank |
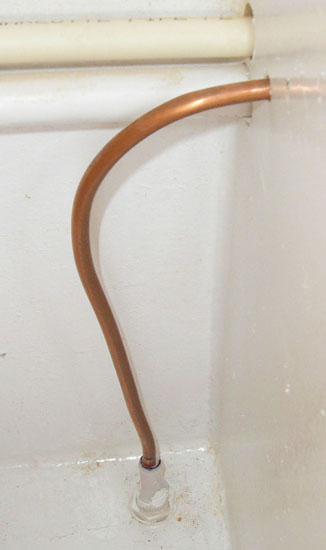
 Fuel return utilising a tank vent |
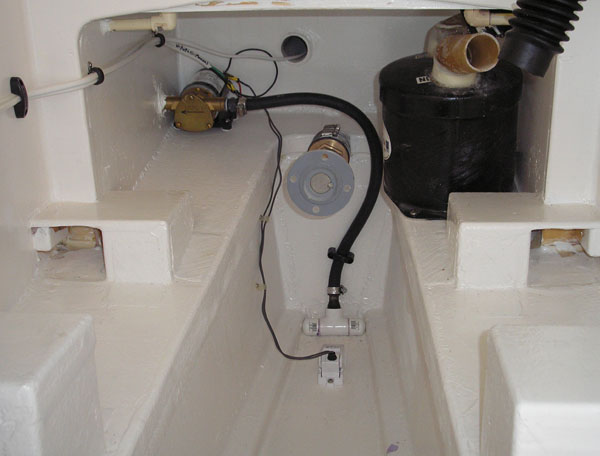 Bilge pump (left); aqualift muffler (right); float switch & strum box (bottom); Motor mounts P & S |
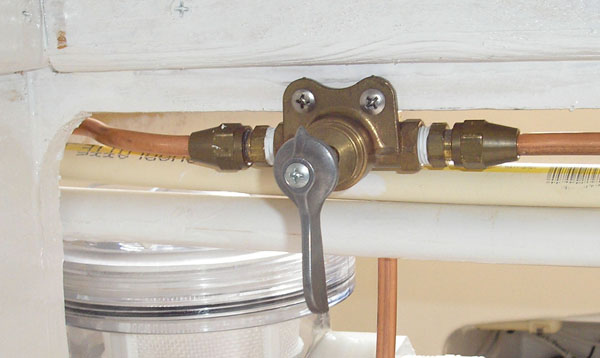 Fuel tank selection valve |
 Fuel Filter |
 The finished cockpit and patent stern |
 Patent stern |
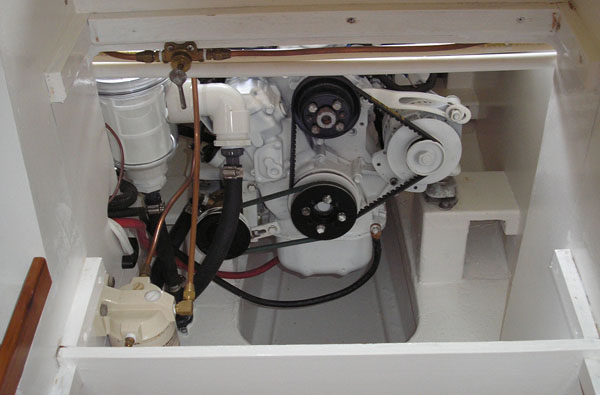
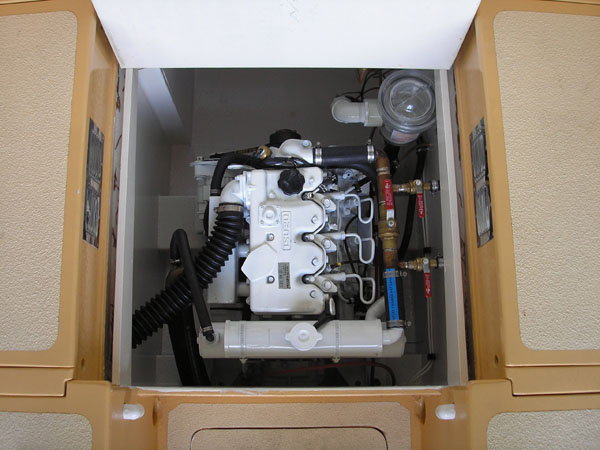 The Isuzu diesel installed; Manifold for the domestic water heat exchanger (right) |
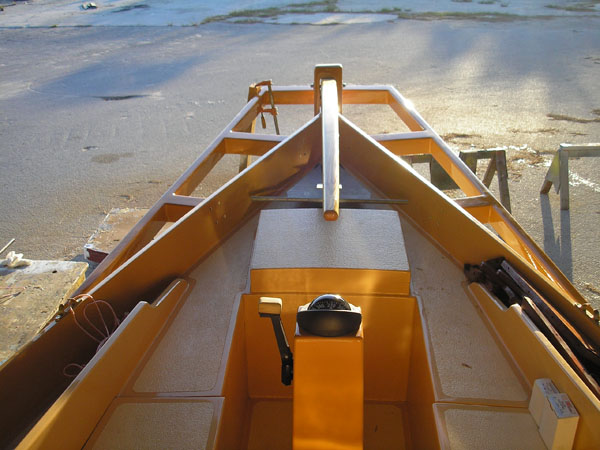
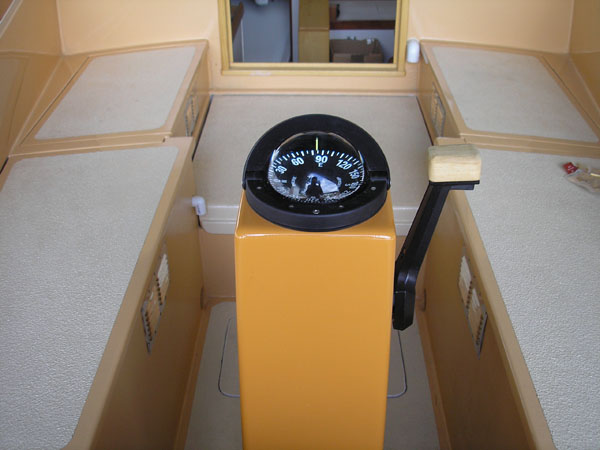 Binnacle, compass and engine controls |
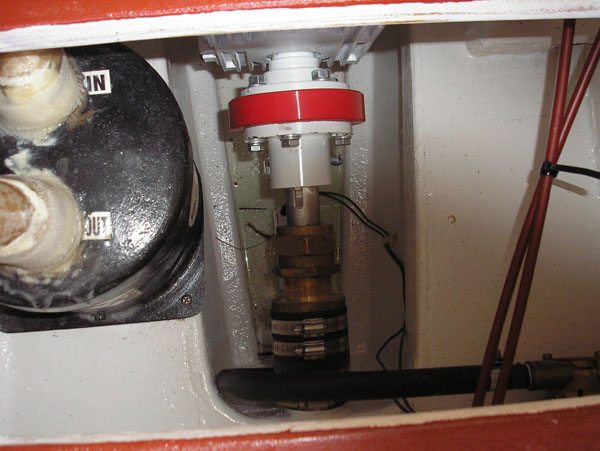 Shaft hookup featuring a Drivesaver (red) to isolate the electrical system from seawater |
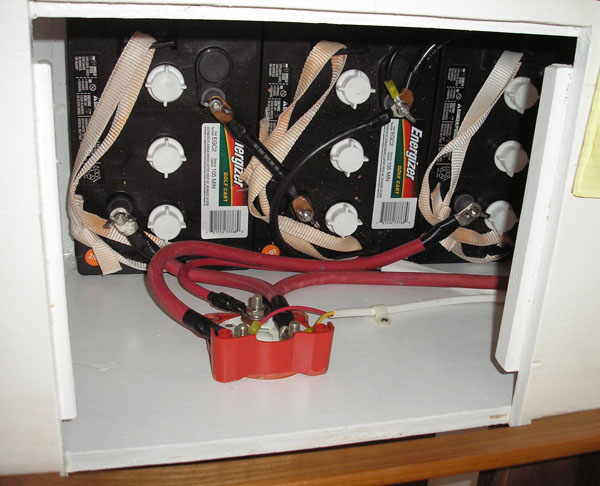 The battery box and switch--two additional batteries are out of view to the right; Batteries are 6 volt deep-cycle golf cart type |
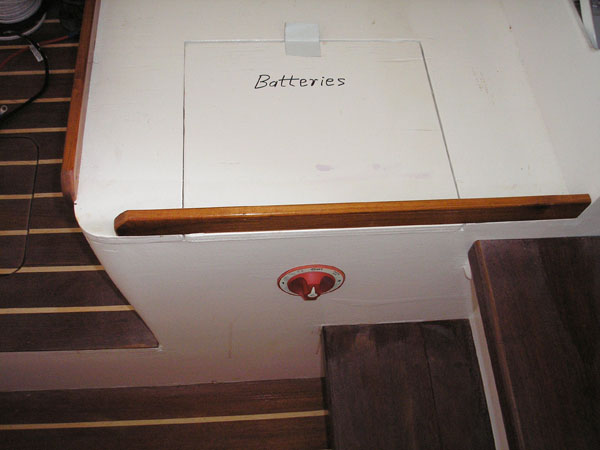 Battery box under the saloon settee; Battery switch (vent to right) |
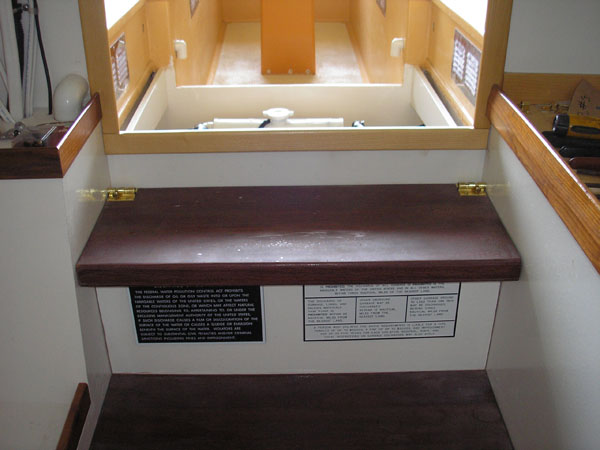 Companionway steps & USCG required plaques |
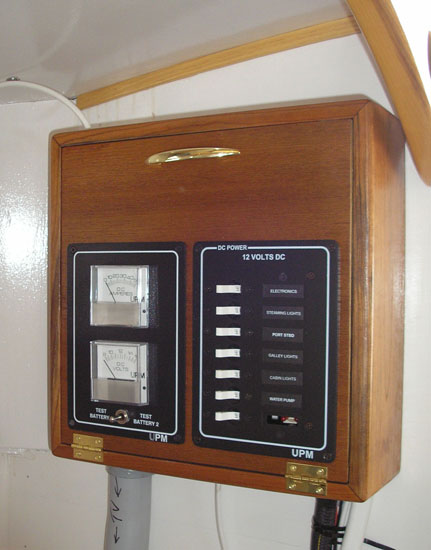 Electrical panel (12VDC only) |
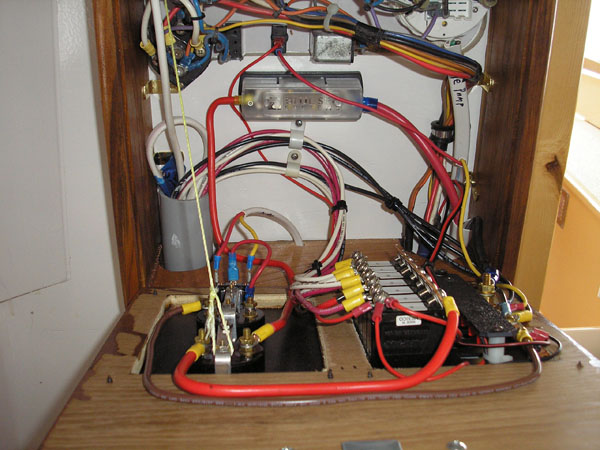 Electrical panel guts |
 The diesel with companionway steps removed to access front |
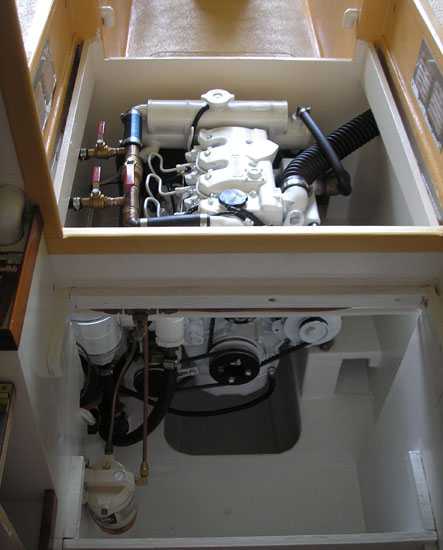 View from above, inside saloon, steps removed |
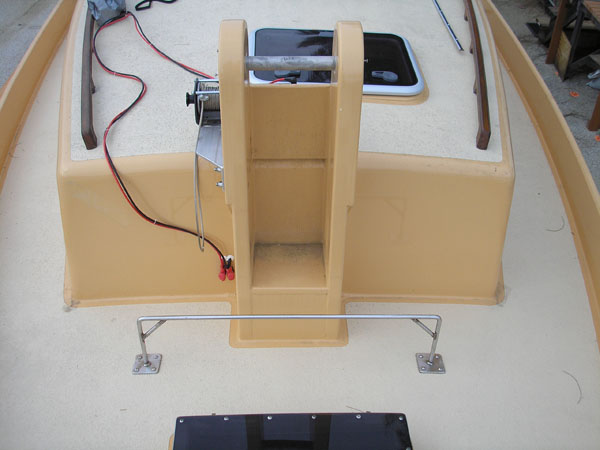 The foremast tabernacle, electric winch and jib sheet traveler |
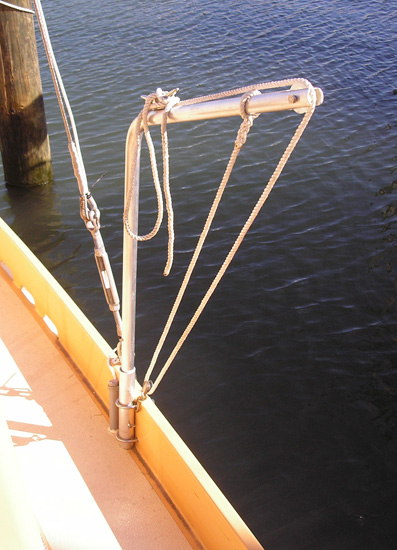
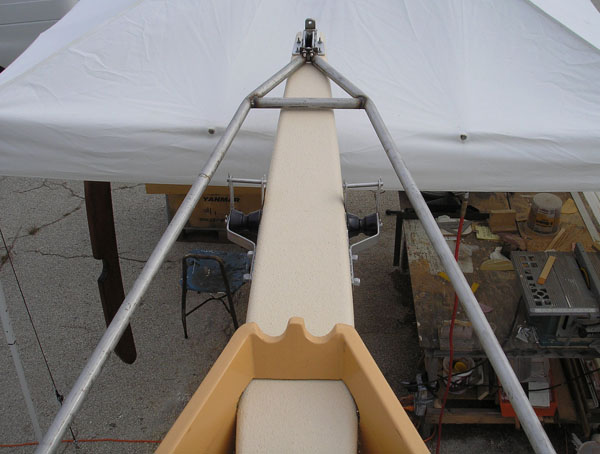 The A-frame for lowering the masts; Twin anchor rollers |
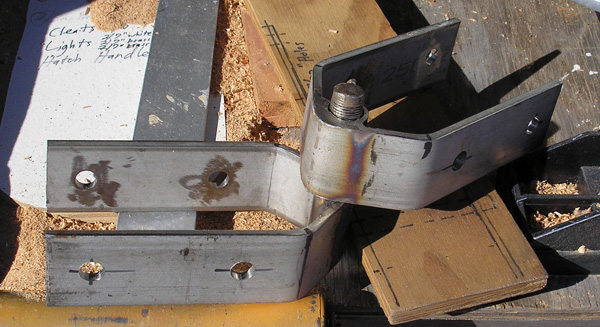
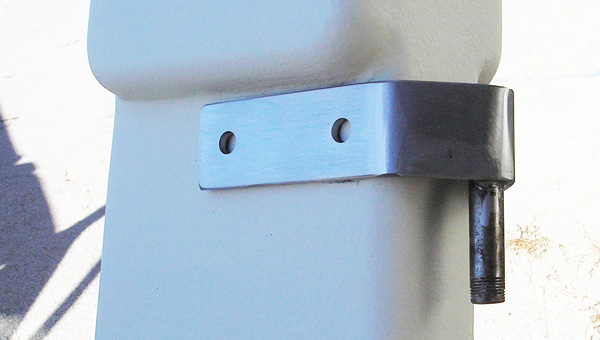
 A-frame Hinge |
 The end of the A-frame; Cheek block; forestay chainplate |
 Custom made anchor roller |
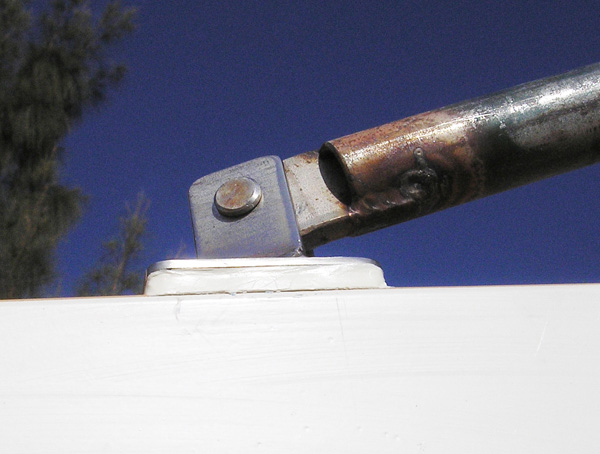 A-frame hinge from outside |
 Foremast and rigging |
 Measuring for a liverpool (marine) wire rope splice (18" for 5/16" wire rope) |
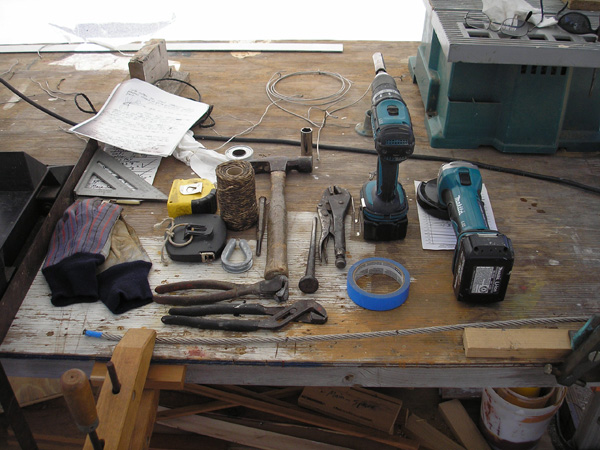 Tools for splicing |
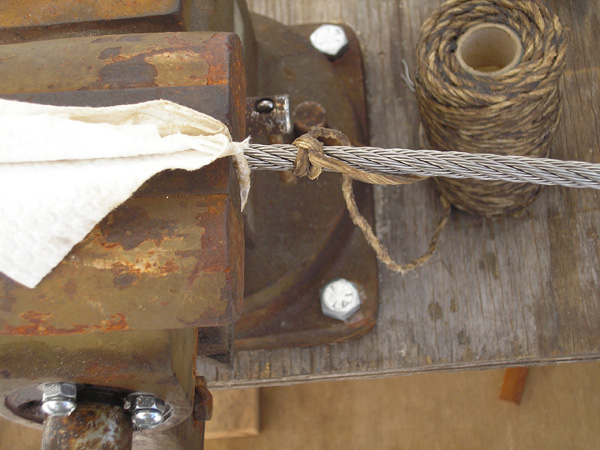 Starting to wrap with tarred polyester for the thimble |
 The thimble bight wrapped (served) |
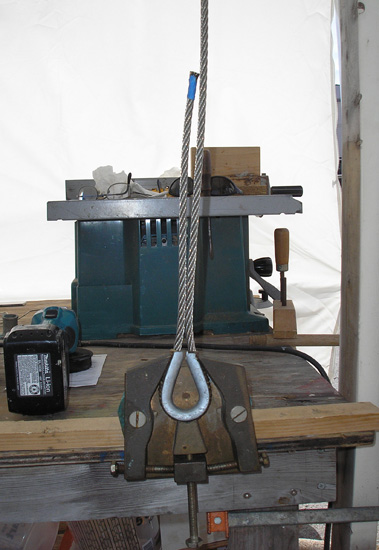 In the rigging vise |
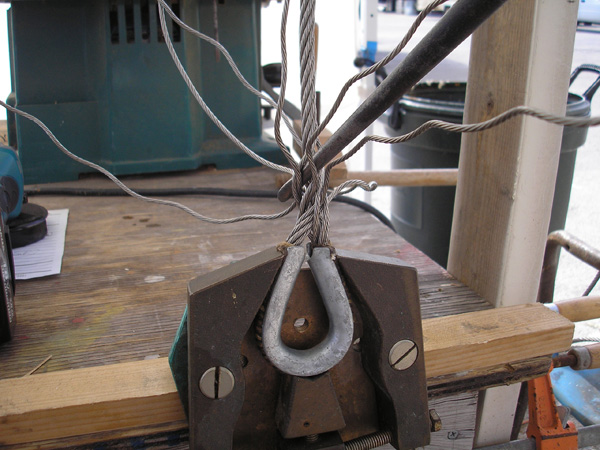 Starting the splice; The thimble is stainless steel as is the wire rope |
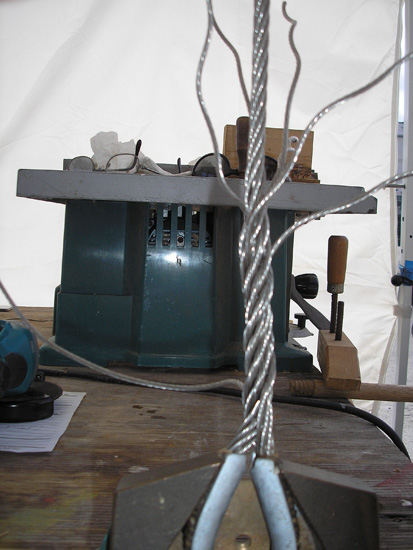 Continuing the splice |
 Using the spike to render a strand in |
 Rolling the spike up behind the strand |
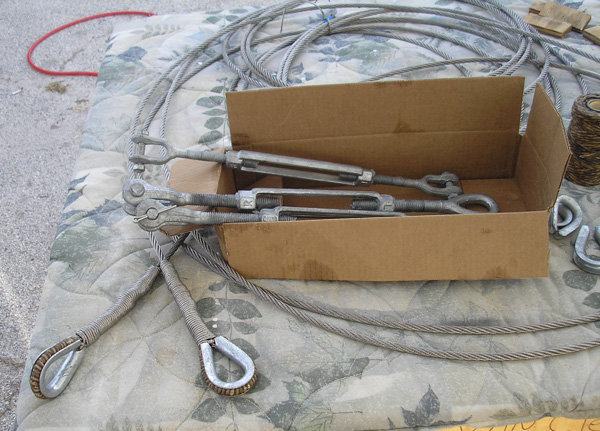 Slices served with SS seizing wire; Hot dip galvanized rigging screws; I buy half jaw & jaw, and half eye & eye to make jaw & eye |
 Splice served with tarred marlin (polyester) prior to serving with anealed SS seizing wire; Splices aloft have marlin only; Splices below have SS seizing wire |
 Mast head with both standing and running rigging attached; Lewmar blocks |
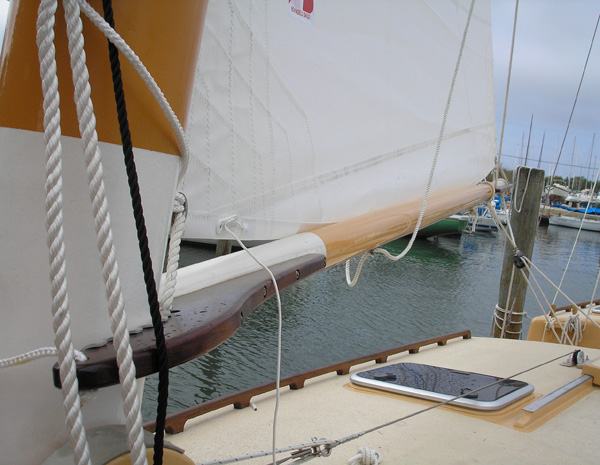
 Boom end ready for Bee rails |
 Mahogany bee rail with bedding compound ready to install |
 Attaching the bee rail (rope end side) |
 Attaching the bee rail (sheave side) |
 Method for making off to a bosun's chair for going aloft unassisted (BEST WAY!) |
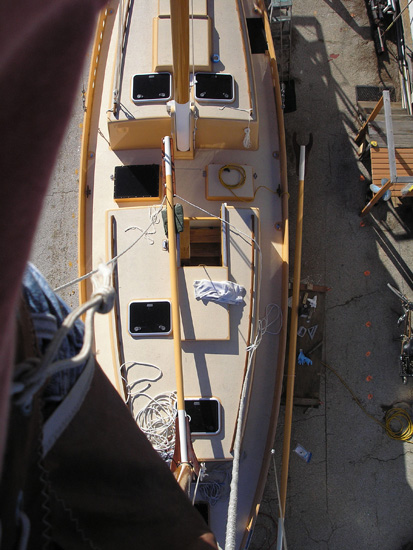 The seagull view... |
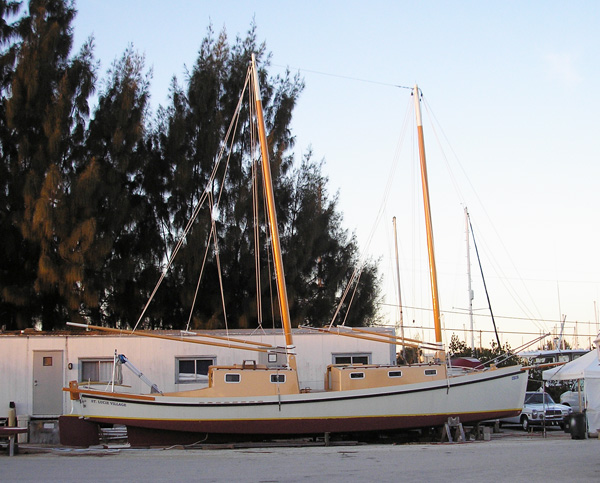 IBIS rigged and anxious for salt water... |
 Using a lathe to turn ash belaying pins |
 Ditto |
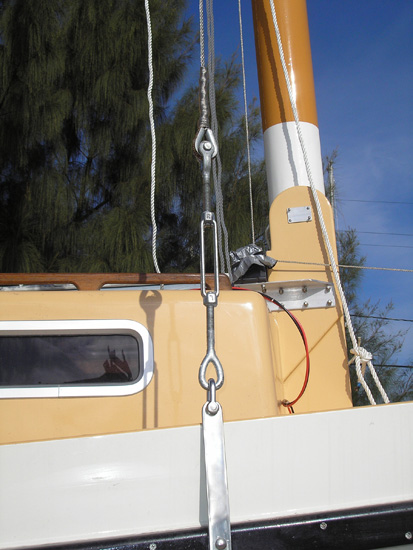
 Chain plate; Rigging; Jib sheet fairleads; Lemar portlights; Gallows aft; Bimini |
 Gallows and mainsheet traveler; Note patent stern brace |
 Foremast; A-frame as bow pulpit |
 Belaying pins; Boat hooks; ash oars, etc |
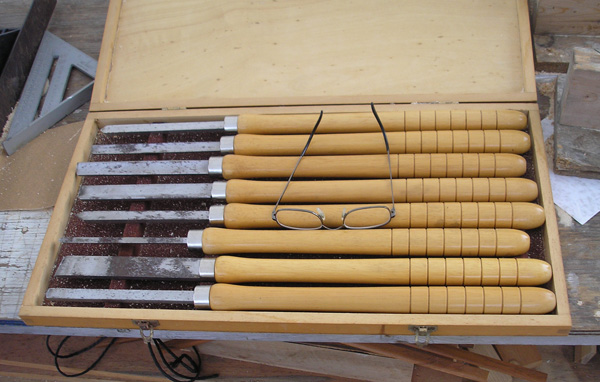 Chisels for lathe turning |
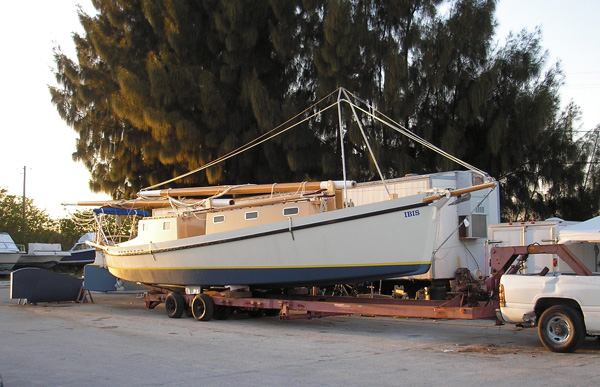
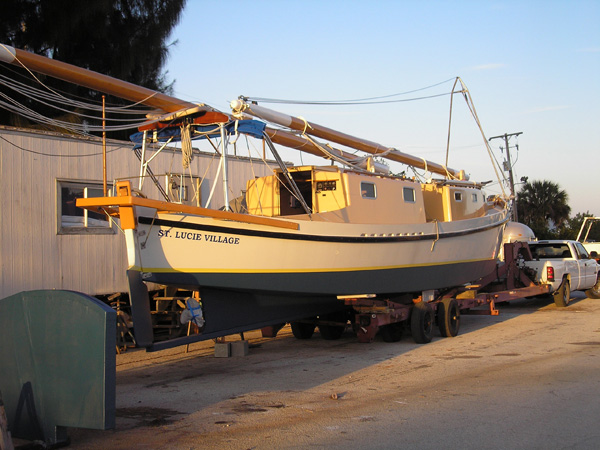 Masts down; On the trailer; Antifouling paint on; Centerboard on the left |
 Beautiful! |
 YES! |
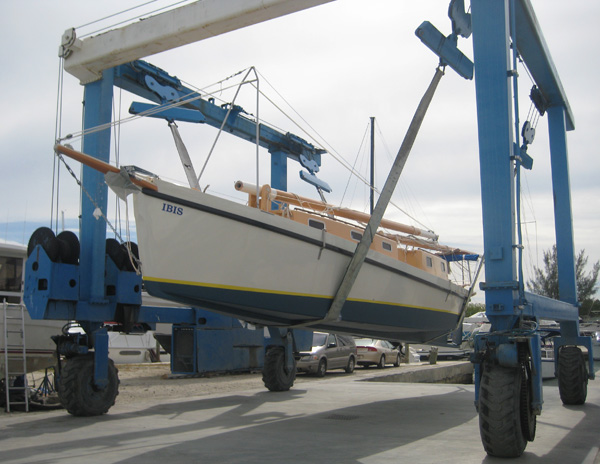 In the Travel Lift |
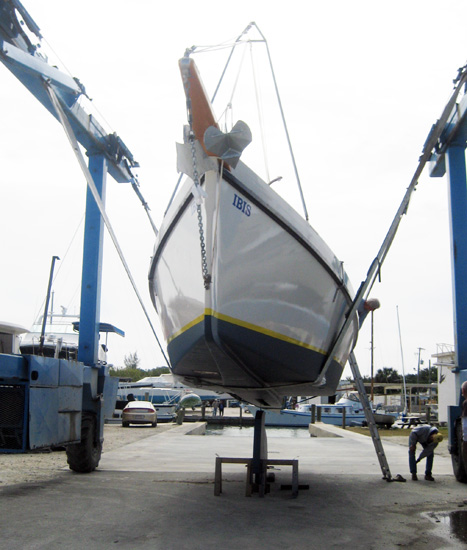 Lowering onto the centerboard |
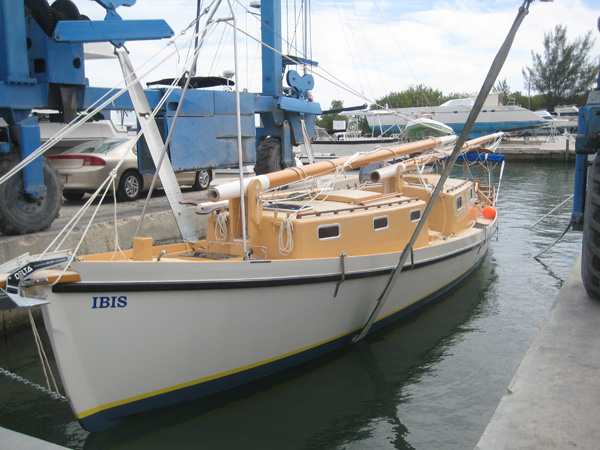 SHE FLOATS! |
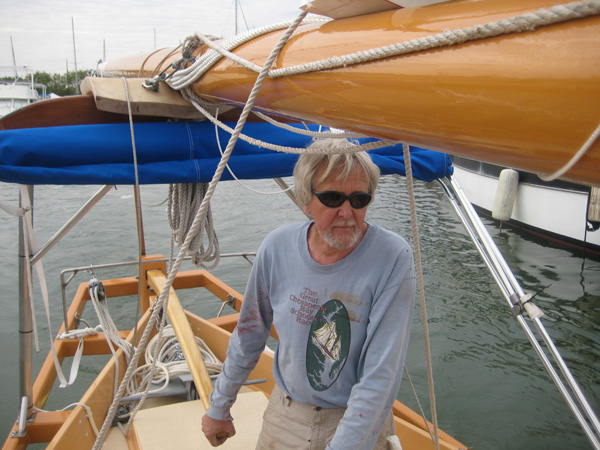 Captain Parker looking a little worse for wear... but happy! |
 Making sail battens with fiberglass cores and PVC covers flattened with a heat gun |
 A batten inside the pocket (installed from the luff) |
 Batten pocket closed |
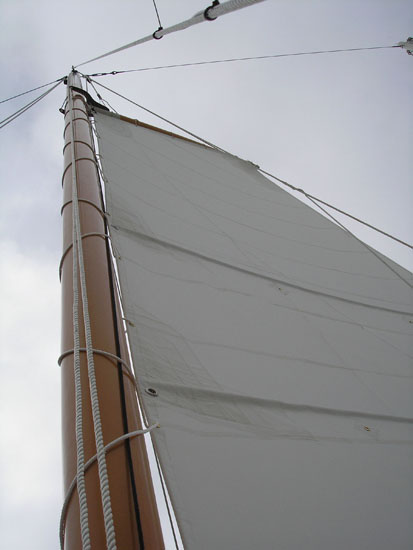 Fores'l raised for the first time |
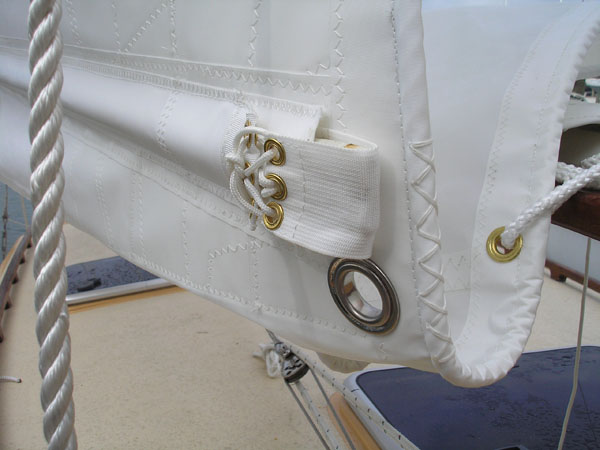
 Mains'l raised; Note tack and clew rigging |
 leather chafe gear on boom jaws and tabernacle heads |
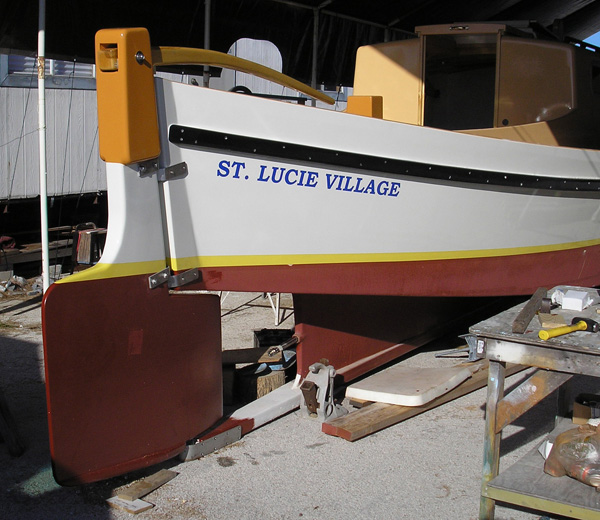
 IBIS's rudder had too much counter balance, and I re-proportioned it after our 2010 Bahama's cruise |
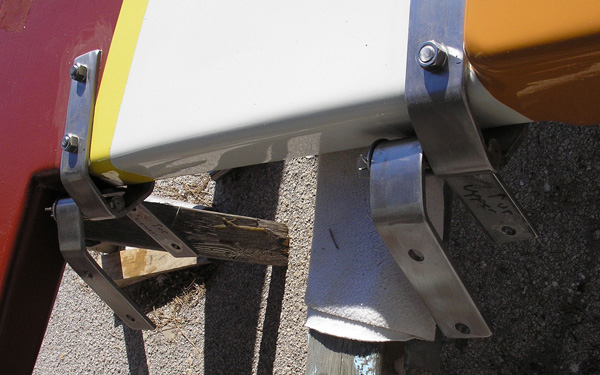
 One of two side davits; IBIS can launch and retrieve her 14' tender under sail or power! |
 The access plate for the aft end of the centerboard; The SS bolt below pins the board in the up position |
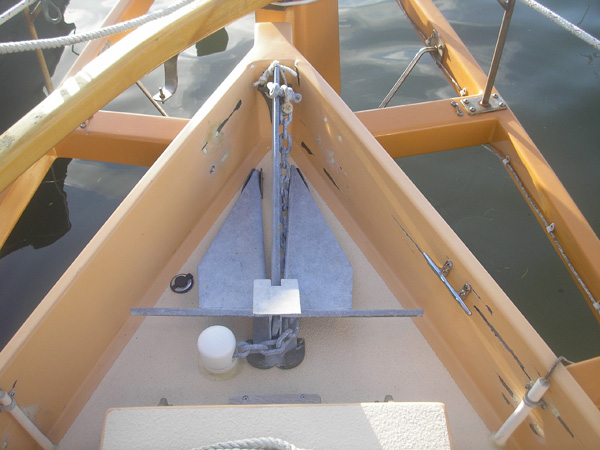
 Ground tackle: 30 lb Delta plow (stbd roller); 55 lb Hereshoff (port);15 lb Danforth (stbd); A 10lb Danforth is carried as a stern kedge (see below) |
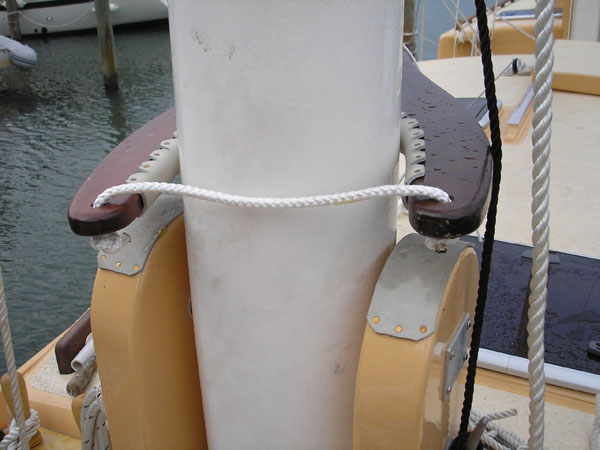
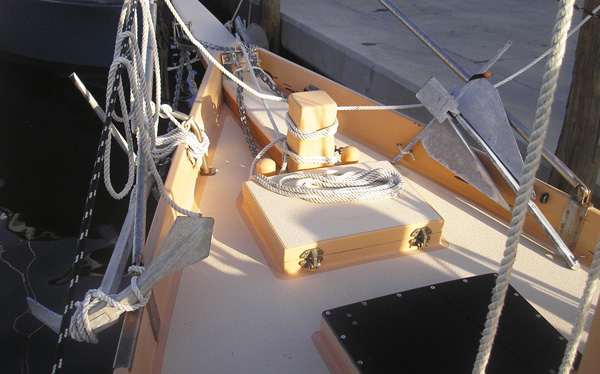
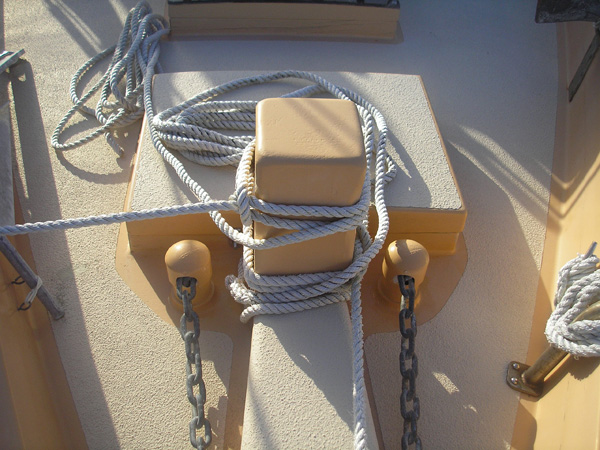 Mooring bitt with correct hitch; Anchor chain deck fittings |
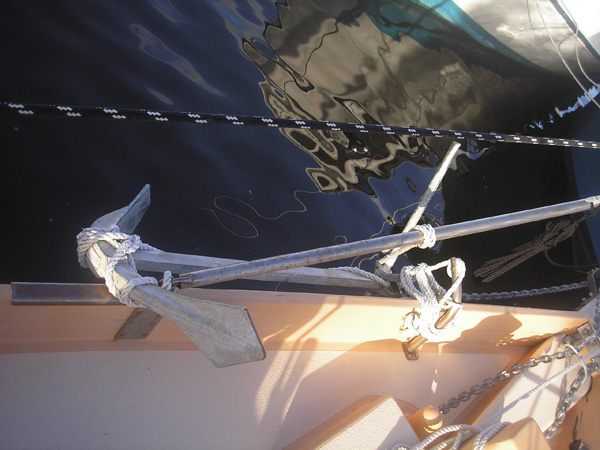 The Hereshoff (fisherman) anchor and cat head--indispensable for rock and sandstone bottoms |
 The stern kedge and deck fitting |
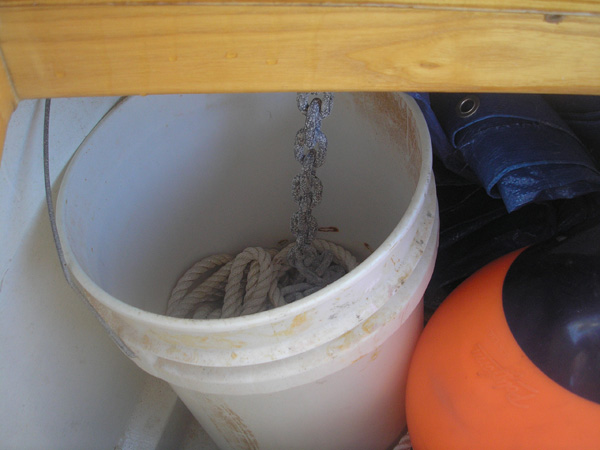 The stern kedge rode is kept in a 5 gal bucket inside the lazarette; clean and easy to take where you need it |
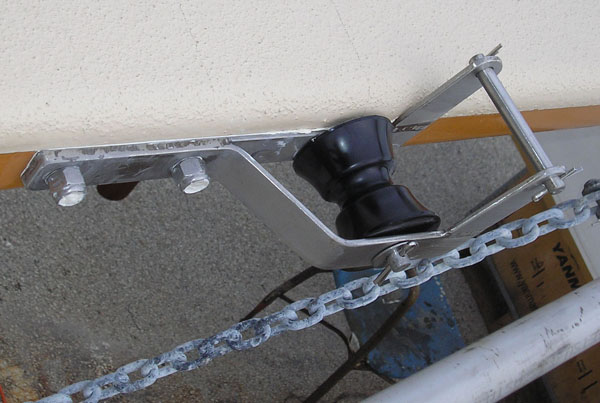
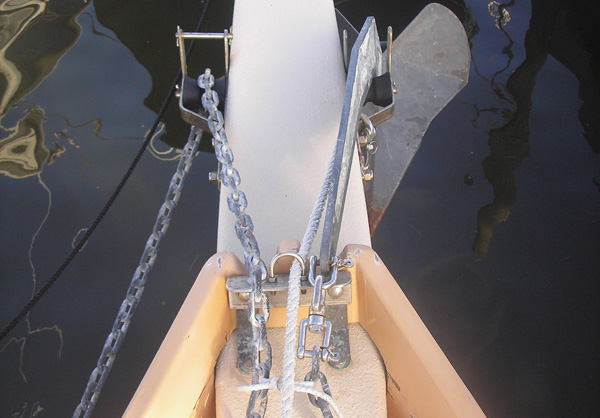 The bow rollers and anchor grabbers |
I sold IBIS in December of
2013 to a man from New Jersey. Despite what a wonderful, handy and fast
cruiser she is, I had never intended to keep her. I had been trying to
sell her for two years, and kept lowering my price. But the only offer
that came in required that I use owner financing... a HUGE mistake!
The buyer refused to make payments, and I was forced to repossess the boat. This took two years, and cost thousands of dollars. I had to sail IBIS to Florida from New Jersey in November/December of 2015 after making emergency repairs at Holiday Harbor boatyard in Waretown, NJ. I documented my solo trip--The Delivery From Hell--in my WoodenBoat Magazine Blogs. When I arrived back in south Florida, I spent many weeks repairing and modifying IBIS, before selling her to a wonderful family from North Carolina, who love her and appreciate her. You can study the repairs I made in a seperate CONSTRUCTION BOOKLET. |